Support for

If you want us to remove the waste from the edge of a shape, specify the "push-out" option you require by following the instructions below:
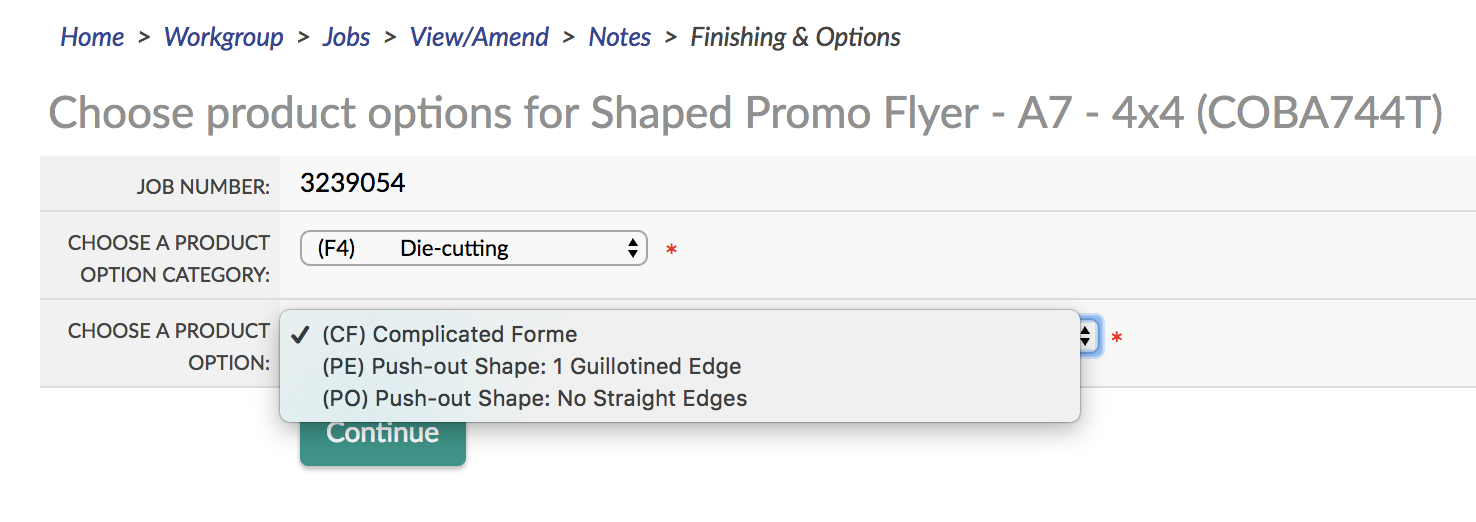
Add one of the Finishing Options below:
| Finishing option | ||
|---|---|---|
| PE | Push-out shape: 1 straight edge |
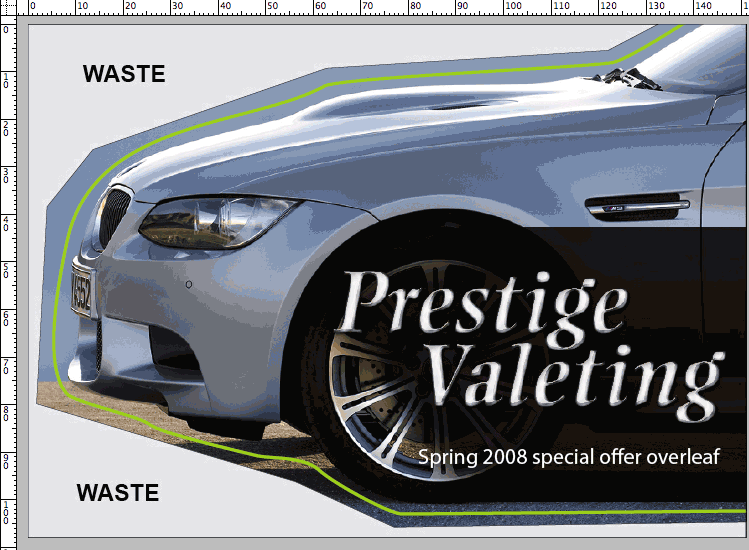
You may use this option where you have left at least one uninterrupted straight cut along the normal product edge (meaning no bends/curves). This allows us to perform that cut during the guillotine stage which assists in removing the shape from the skeleton. Example 1: Job released by guillotine on the right
Example 2: Job released by guillotine at the bottom
|
| PO | Push-out shape: No straight edges |
You must use this option where there are no edges of your finished product that corresponds with a normal guillotine cut within 1.5mm of the artwork border.
It is more difficult to push out this type of shape, so this finishing code will add a small cost to your job |
If you don't select one of the above options, we will despatch your job with the waste area intact with the added possibility that nicks will be present to hold the shape in place.
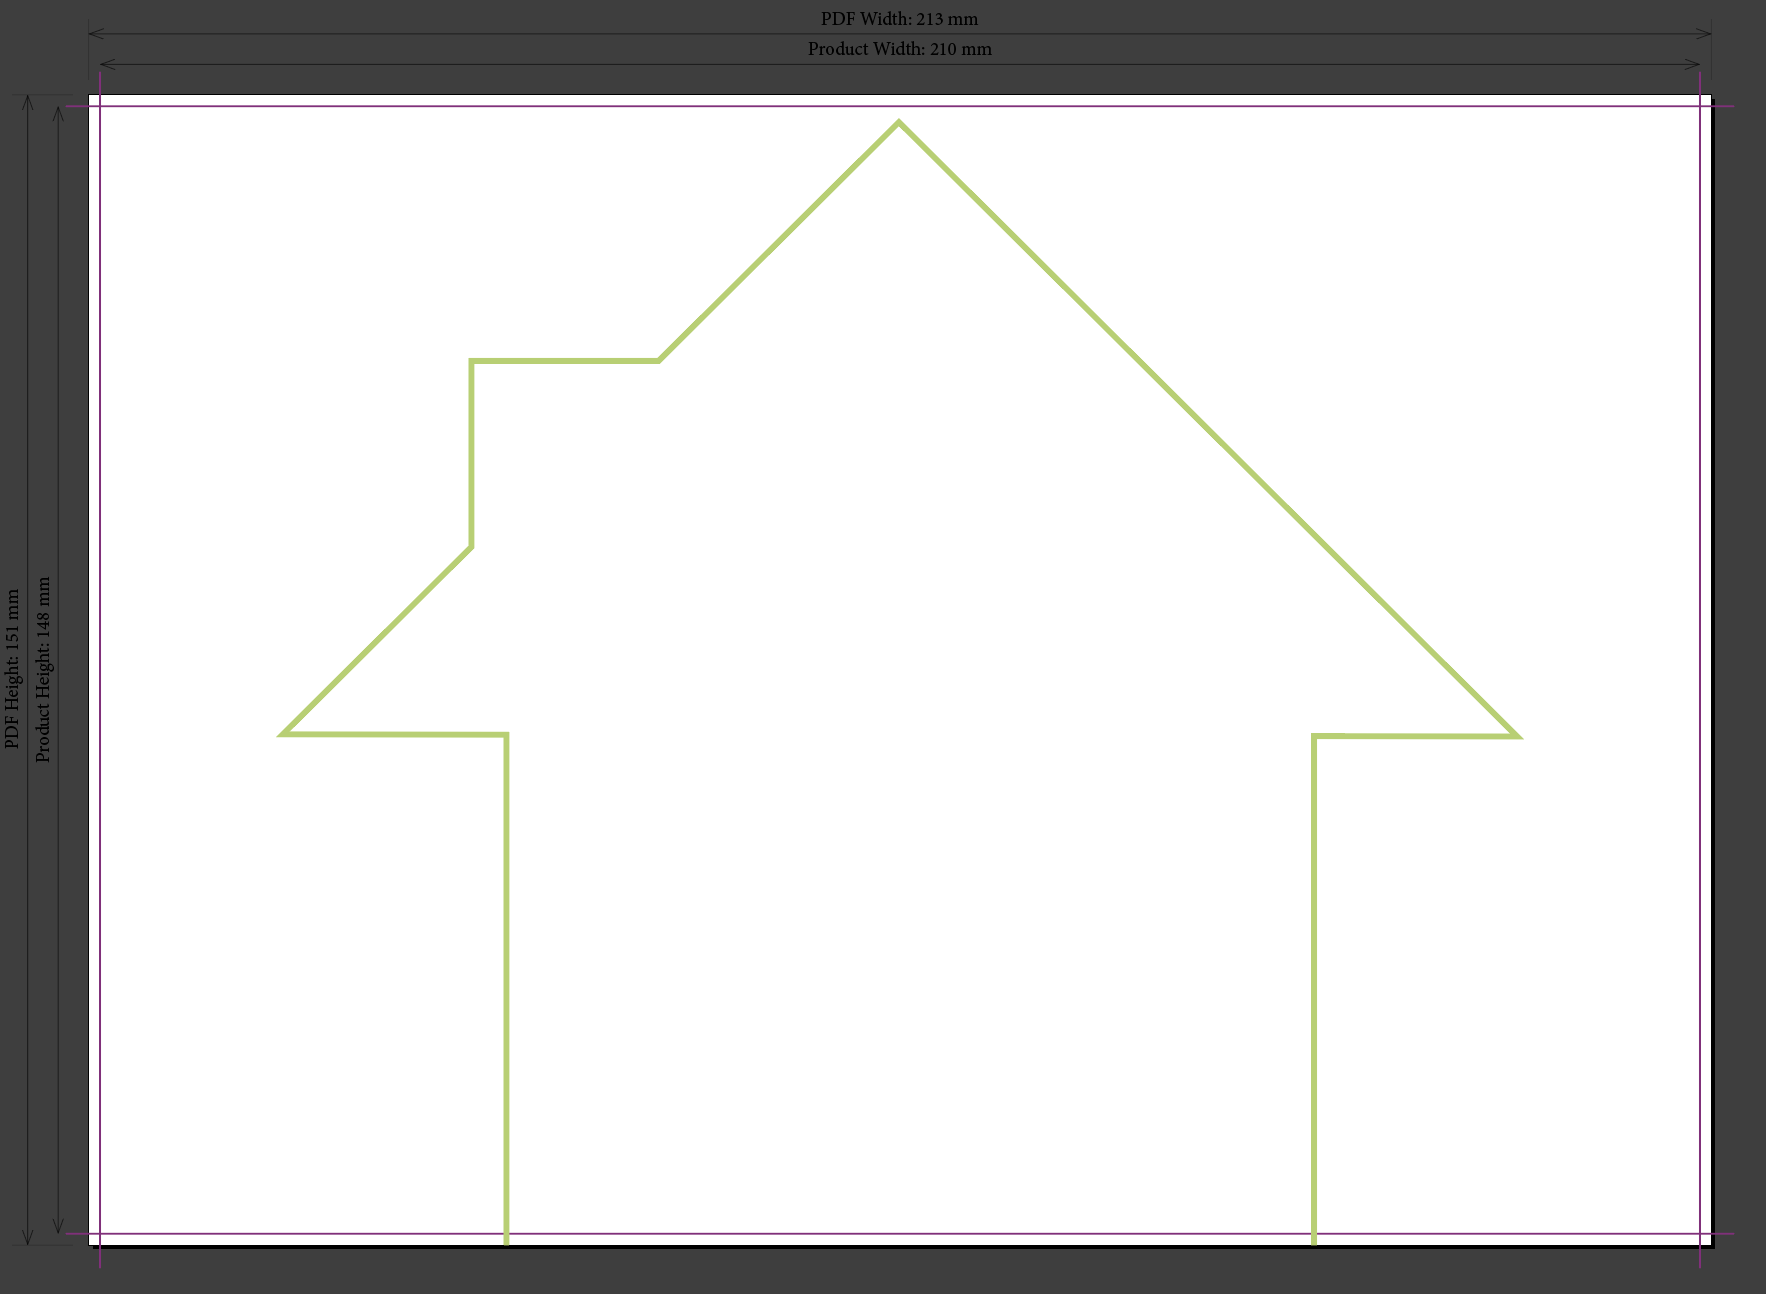
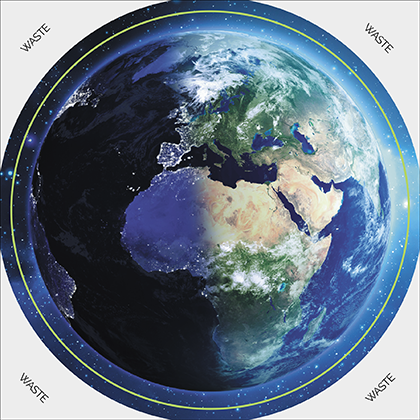
Identify the waste area 3 mm outside the DIE-CUT FORME line with a 0.25 pt black line, and fill the waste area with a 10% black tint and the WASTE text.
In the case of a complicated cut-out shape, the bleed area does not need to bleed by exactly 3 mm. However, it should still loosely follow the contours of the shape.
The 0.25 pt black keyline (indicating the bleed area) should be within 3 to 10 mm of the actual die-cut shape (NB Straight lines may be used if it is easier).
 |
| Example of an approximate waste area, around a complicated shape. |