Support for

Log Into WorksThing https://www.signagesurveyor.com/
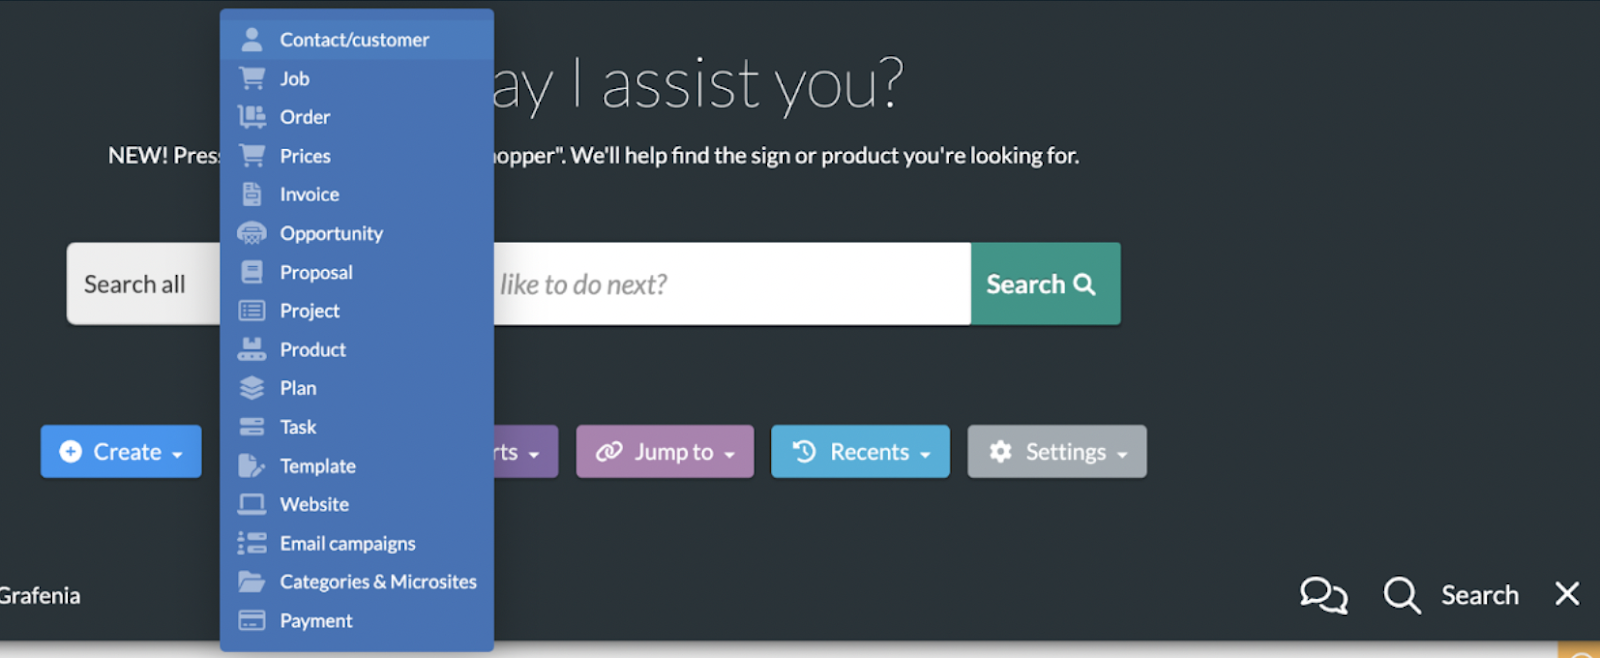
You will be taken to the dashboard.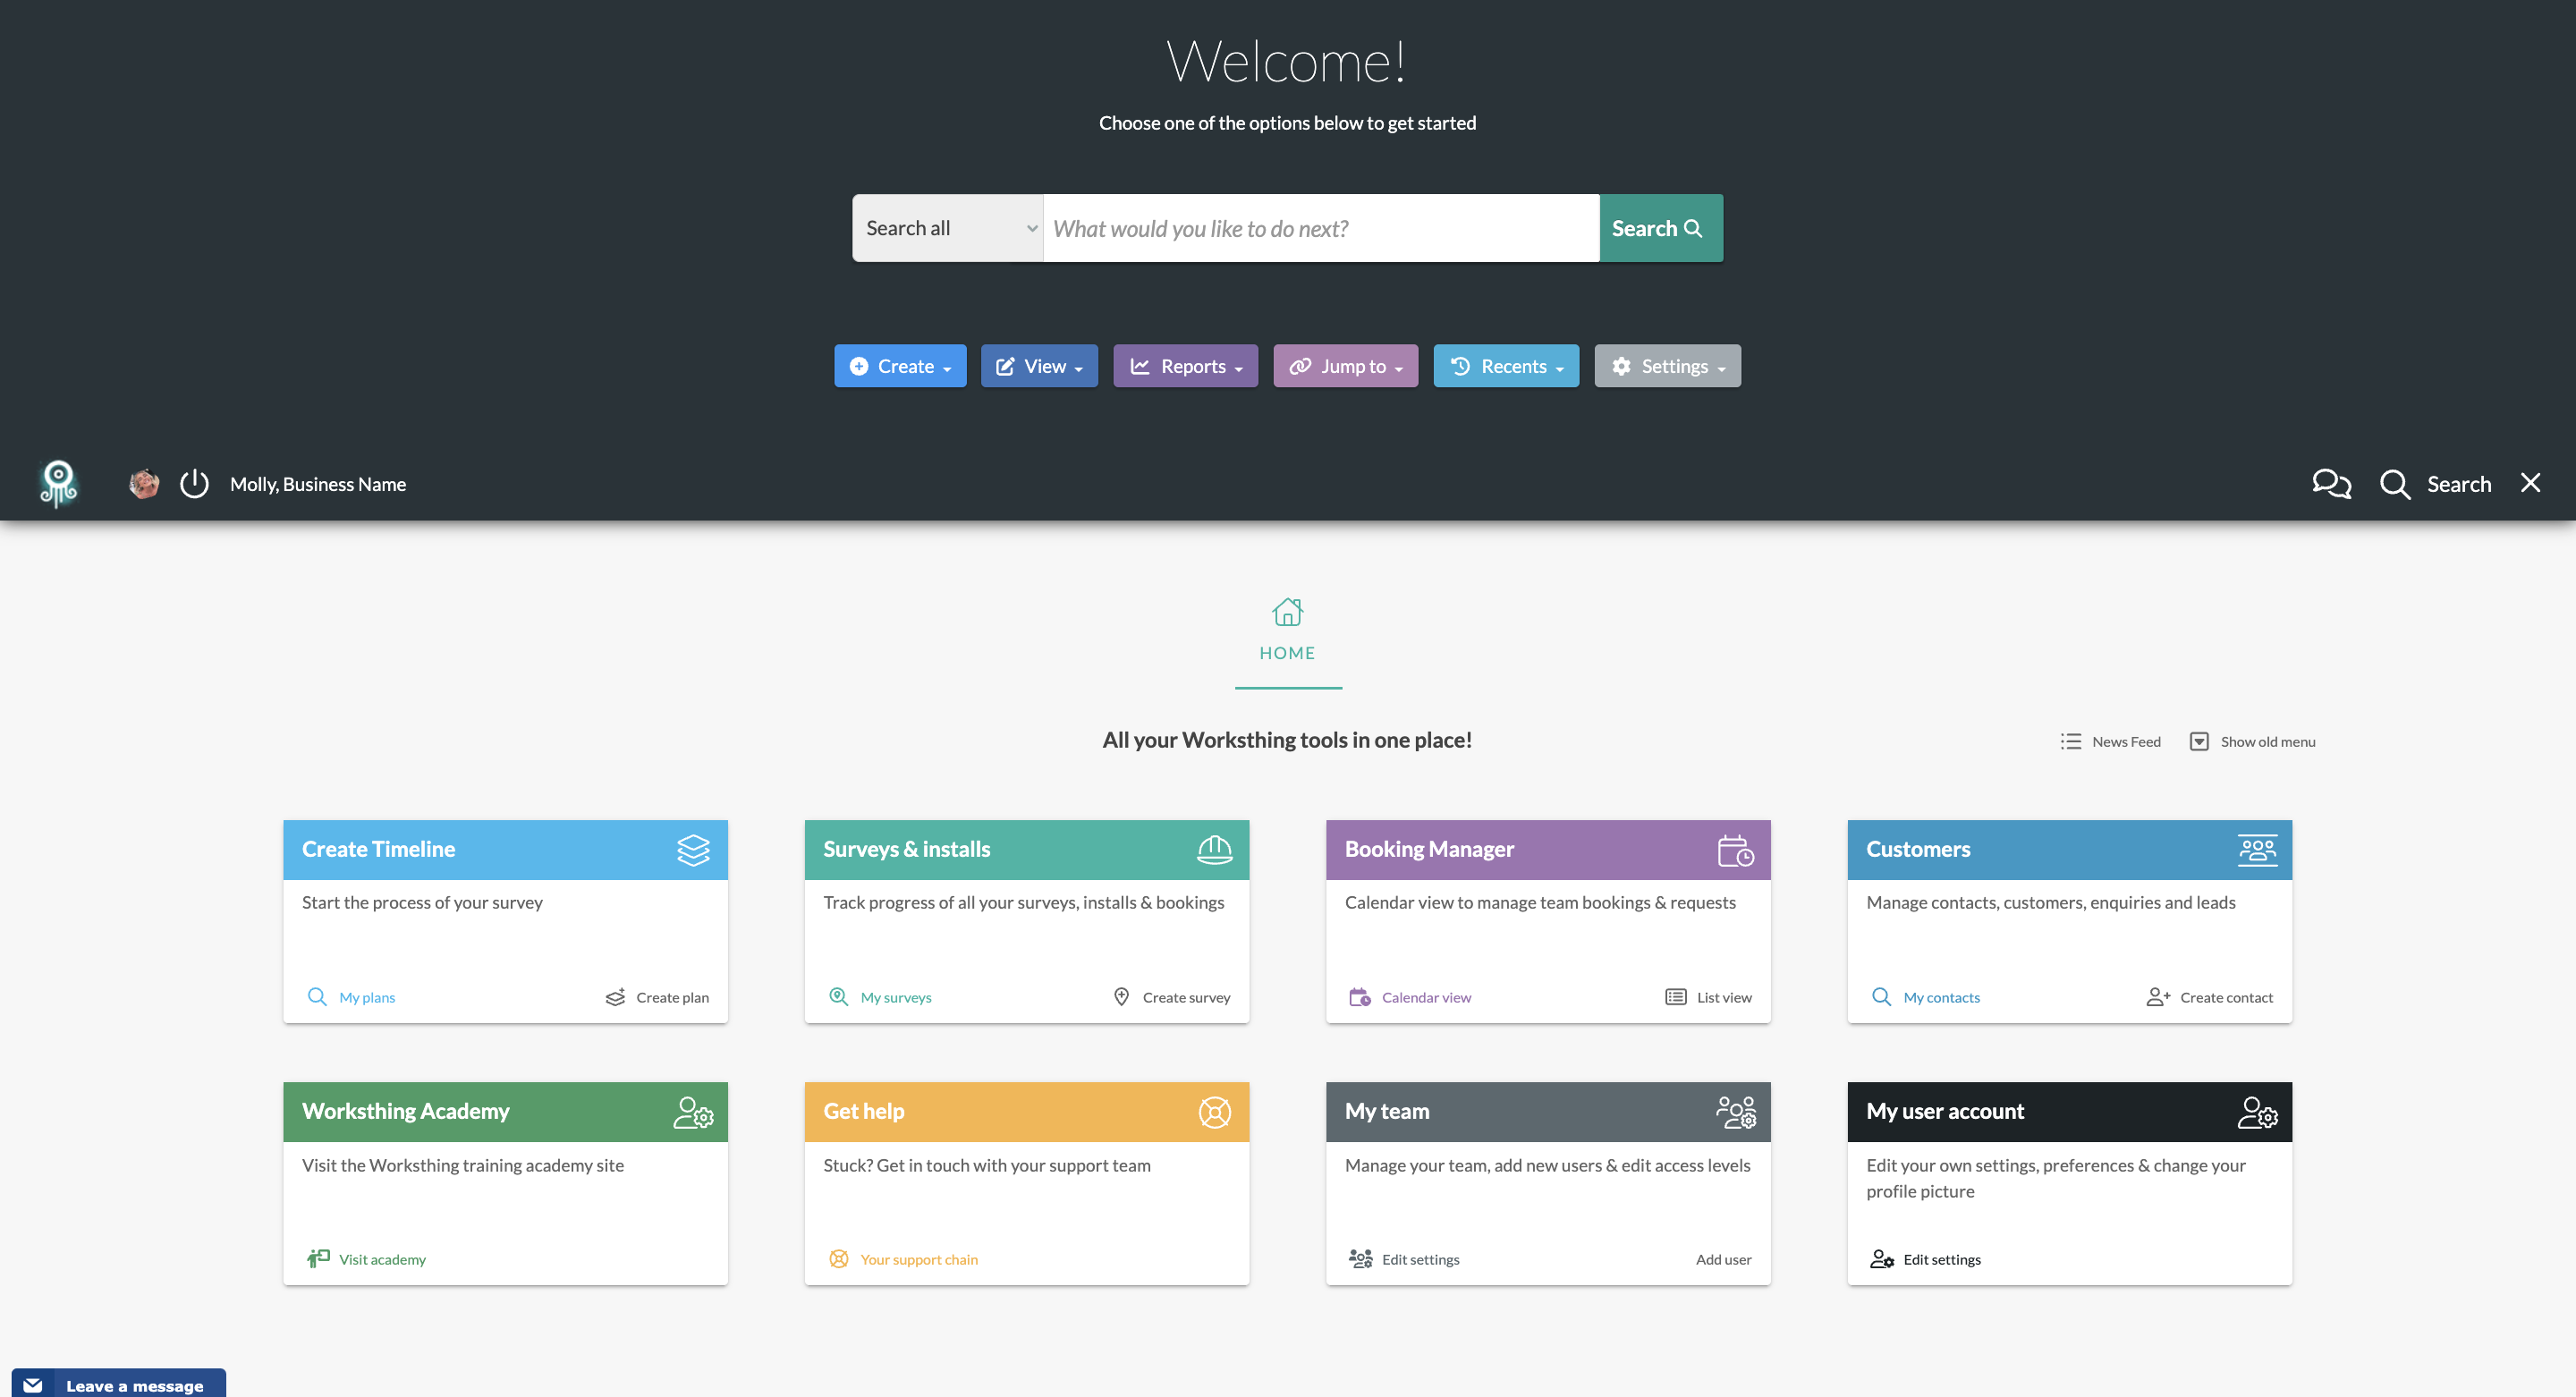
Hover over the view menu and click on Contact/Customer.
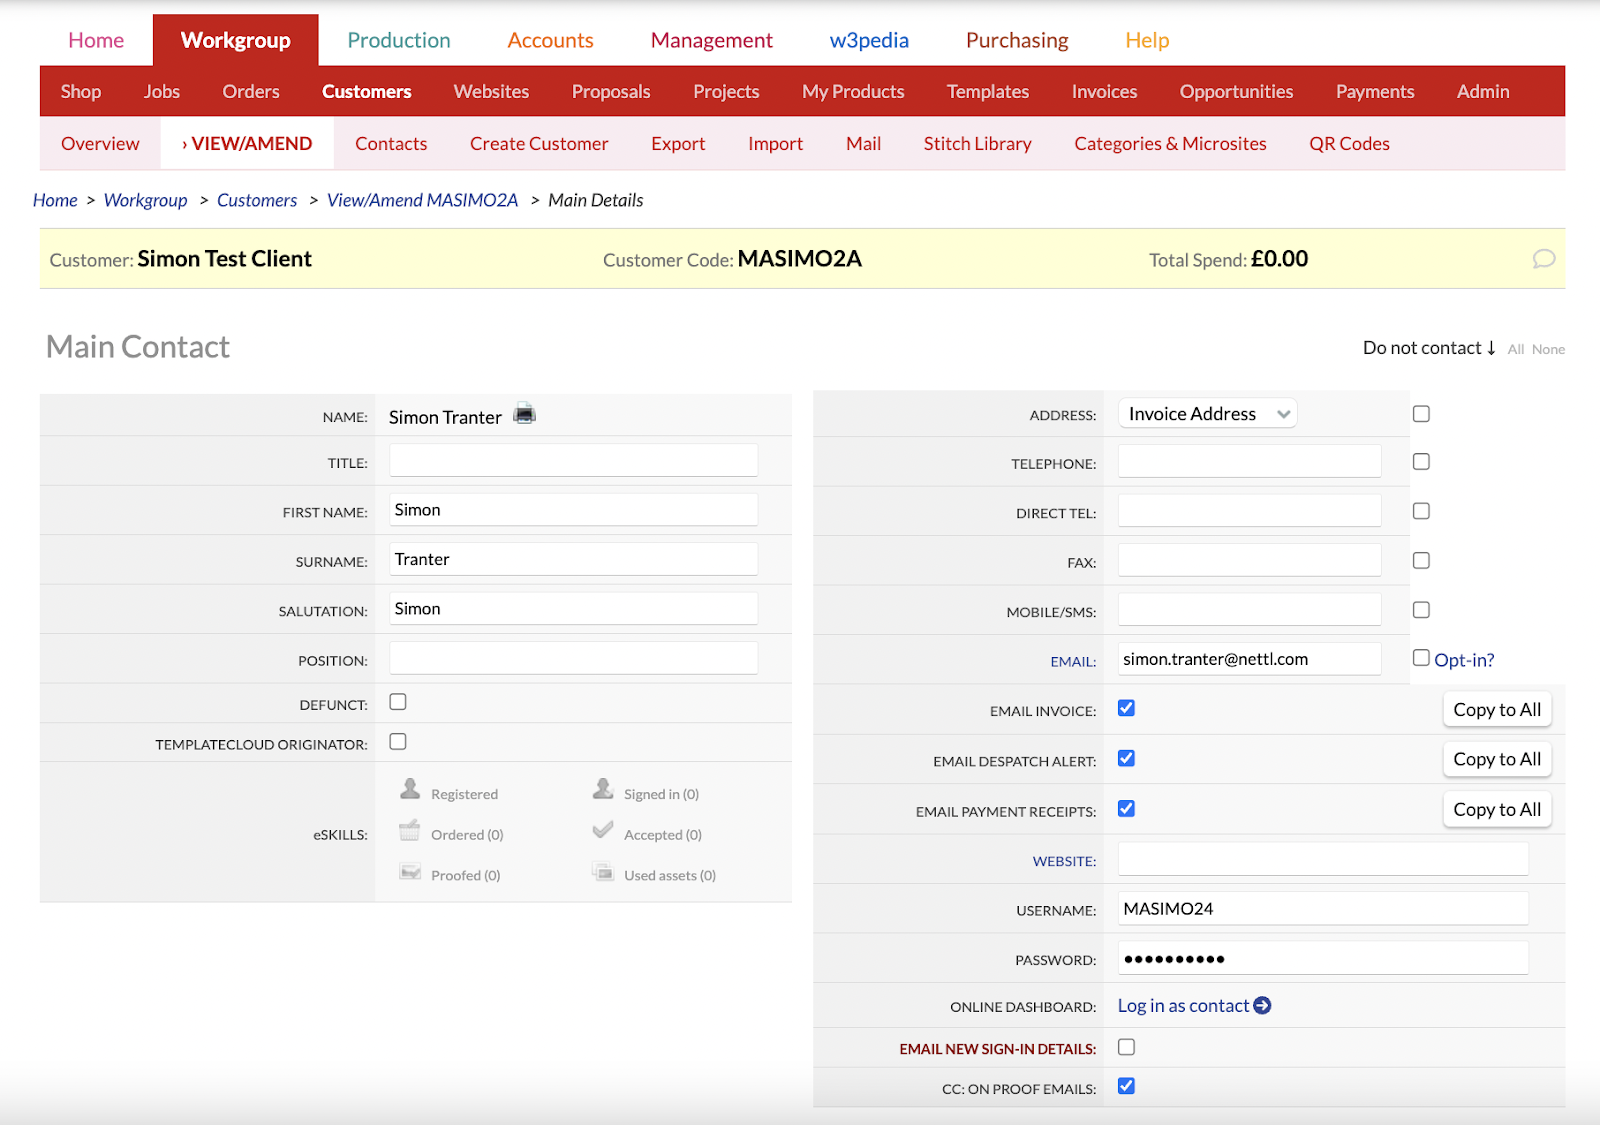
From here you can either search for your customer or find them further down the page in the recently viewed section.

Click on the customer you want to view, this will take you to the main details.
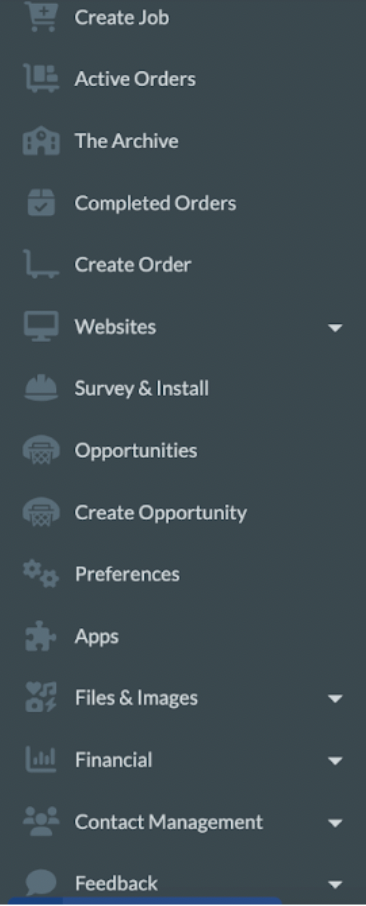
On the left of the screen you will see a menu bar, click on Survey & Install.
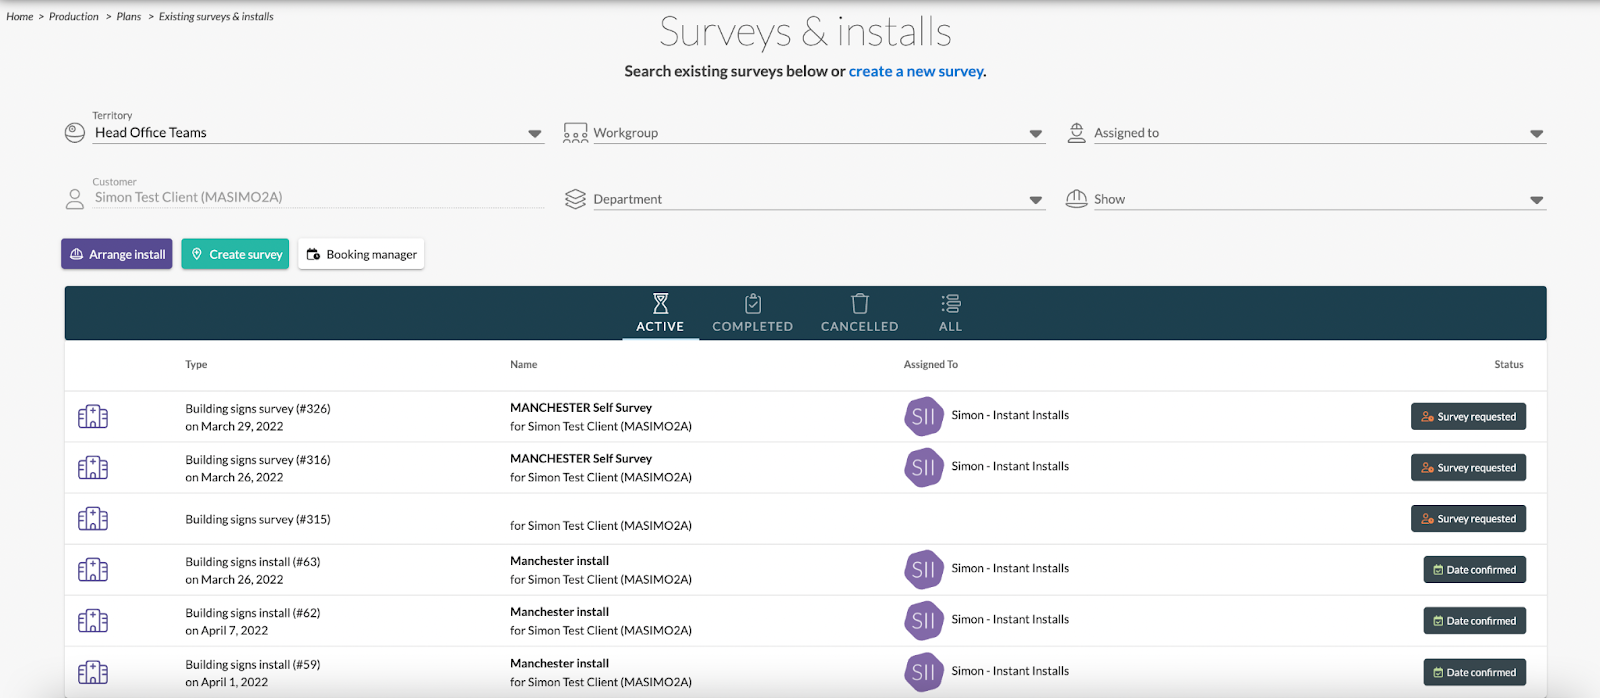
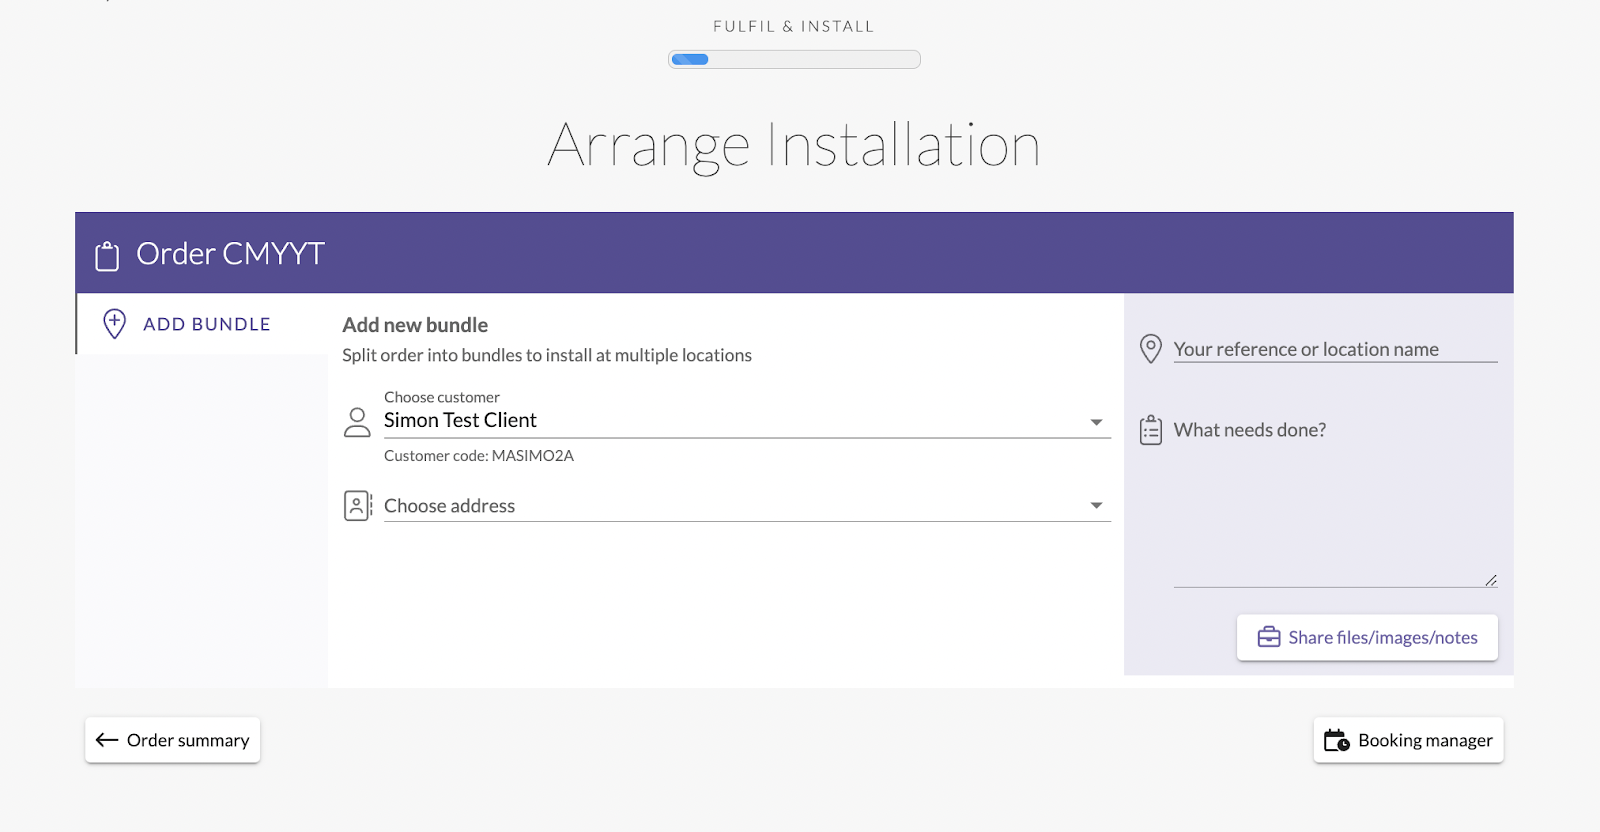
Click Arrange install
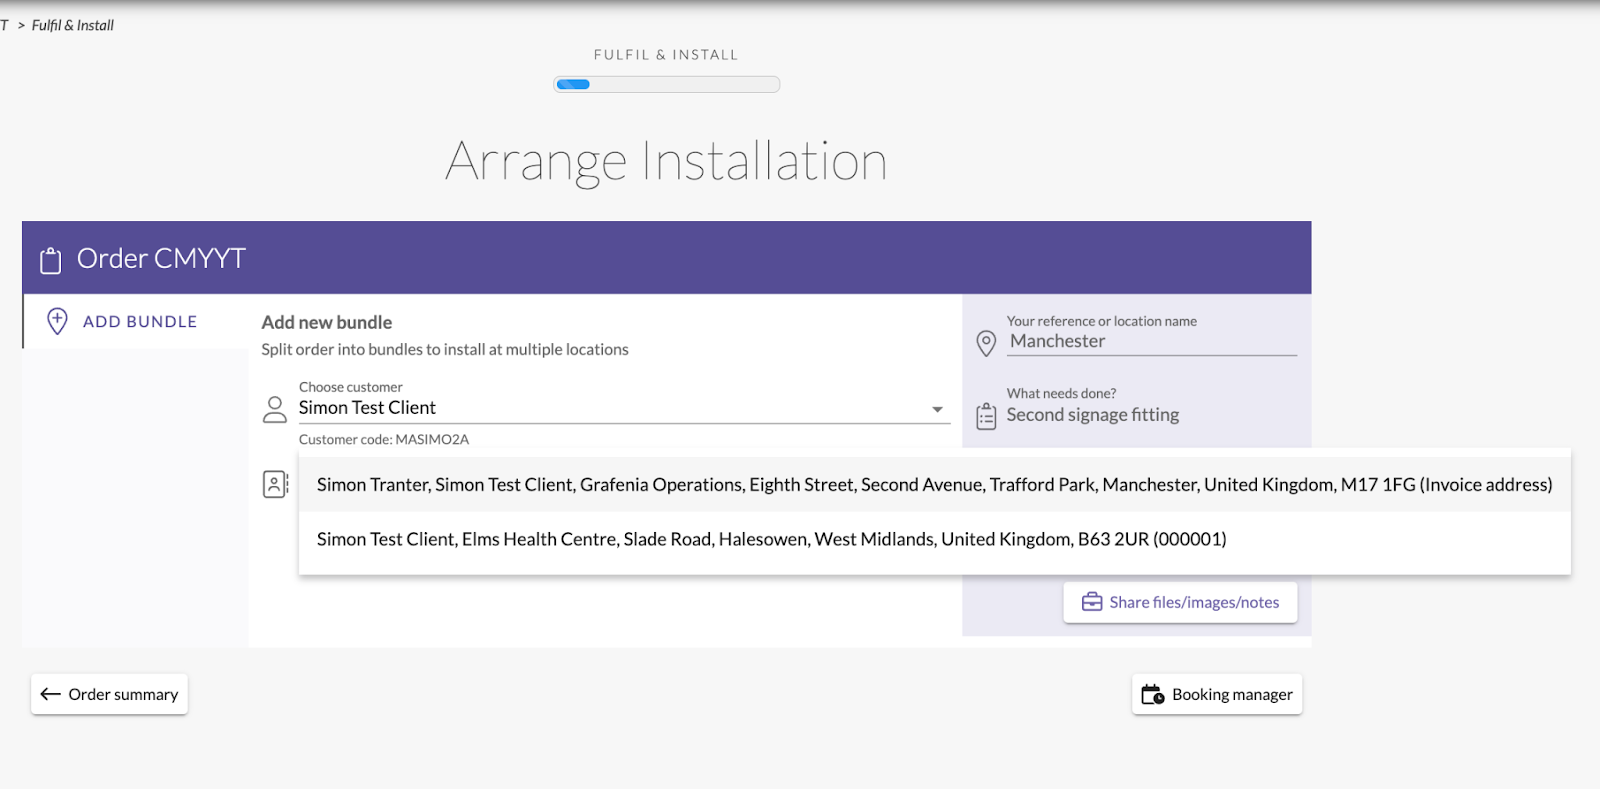
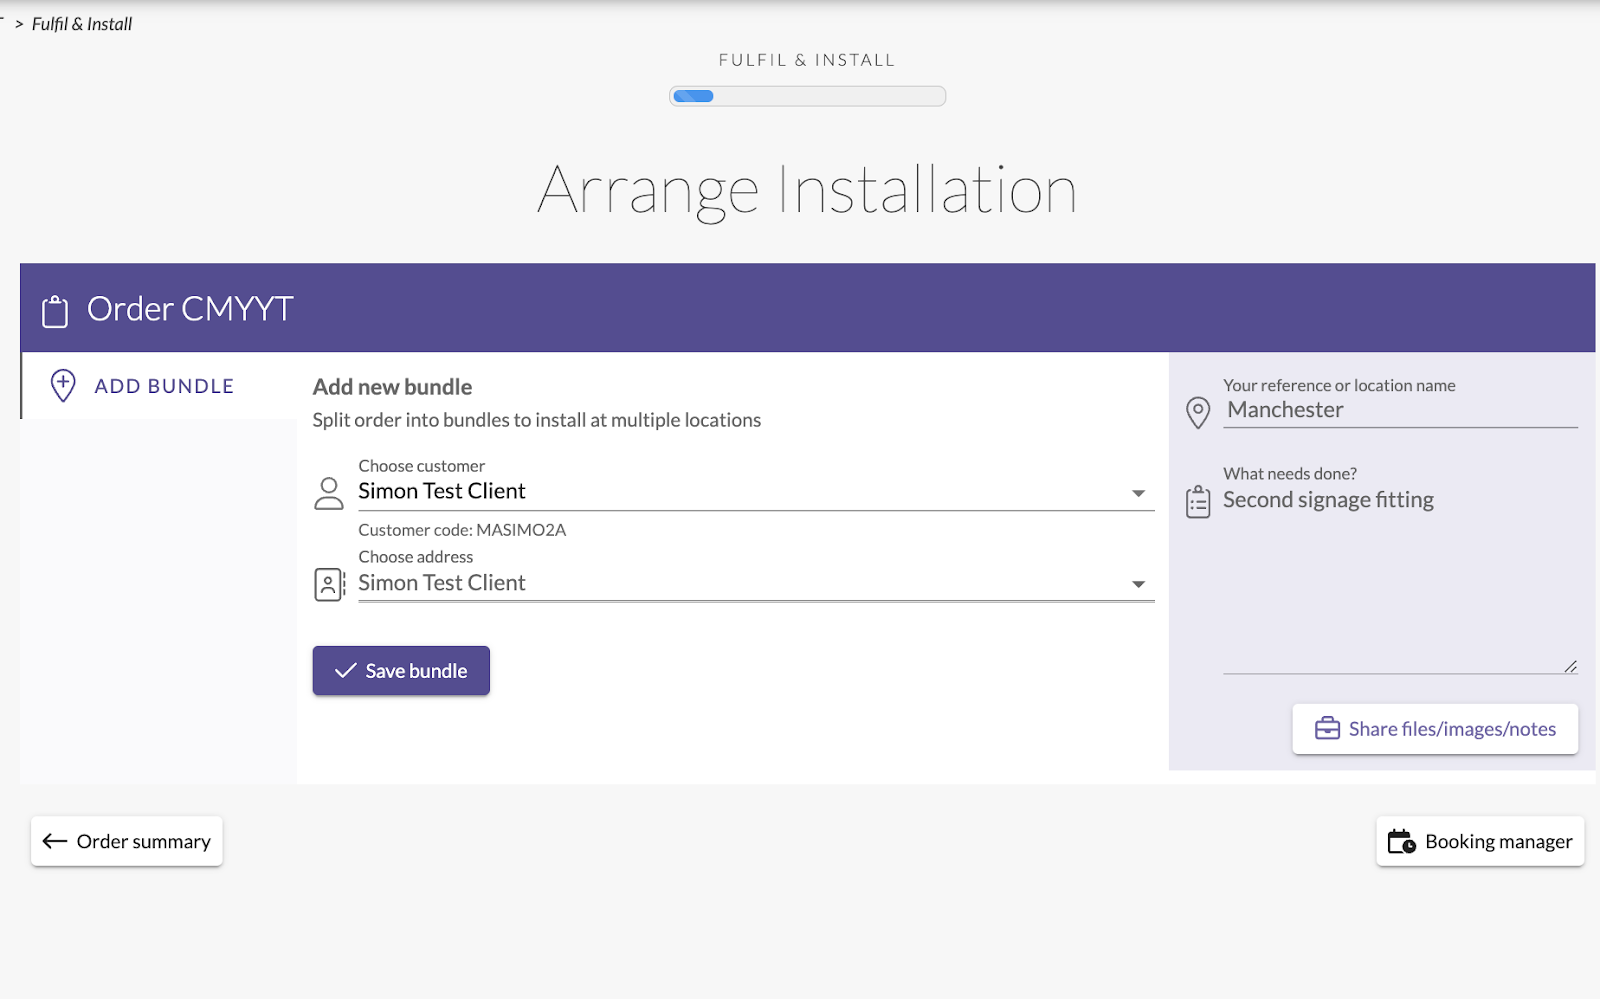
Fill in the relevant fields.Once filled in click Save Bundle
This will then take you to the overview/check list of the installation.
Click Book Install.
Fill in all relevant fields and select the date and time for the installation
You can also add the travel time in.
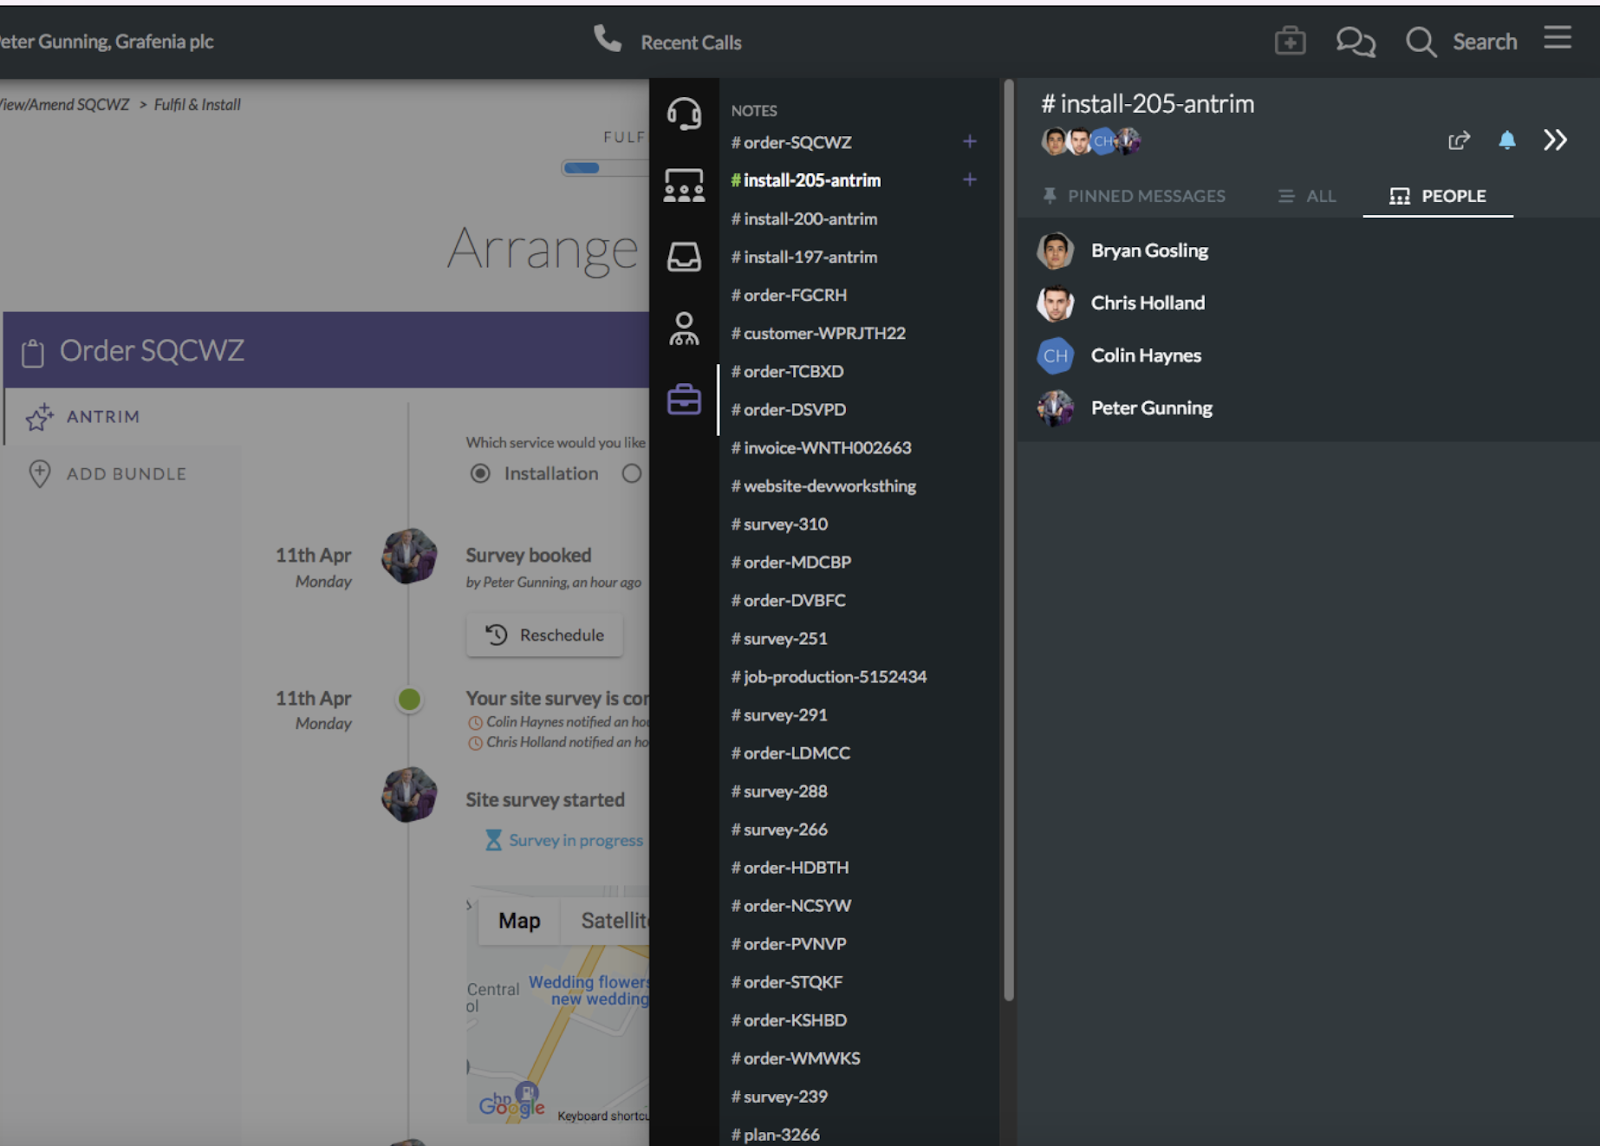
The surveyor + installer will automatically be added to the chat when they are requested.
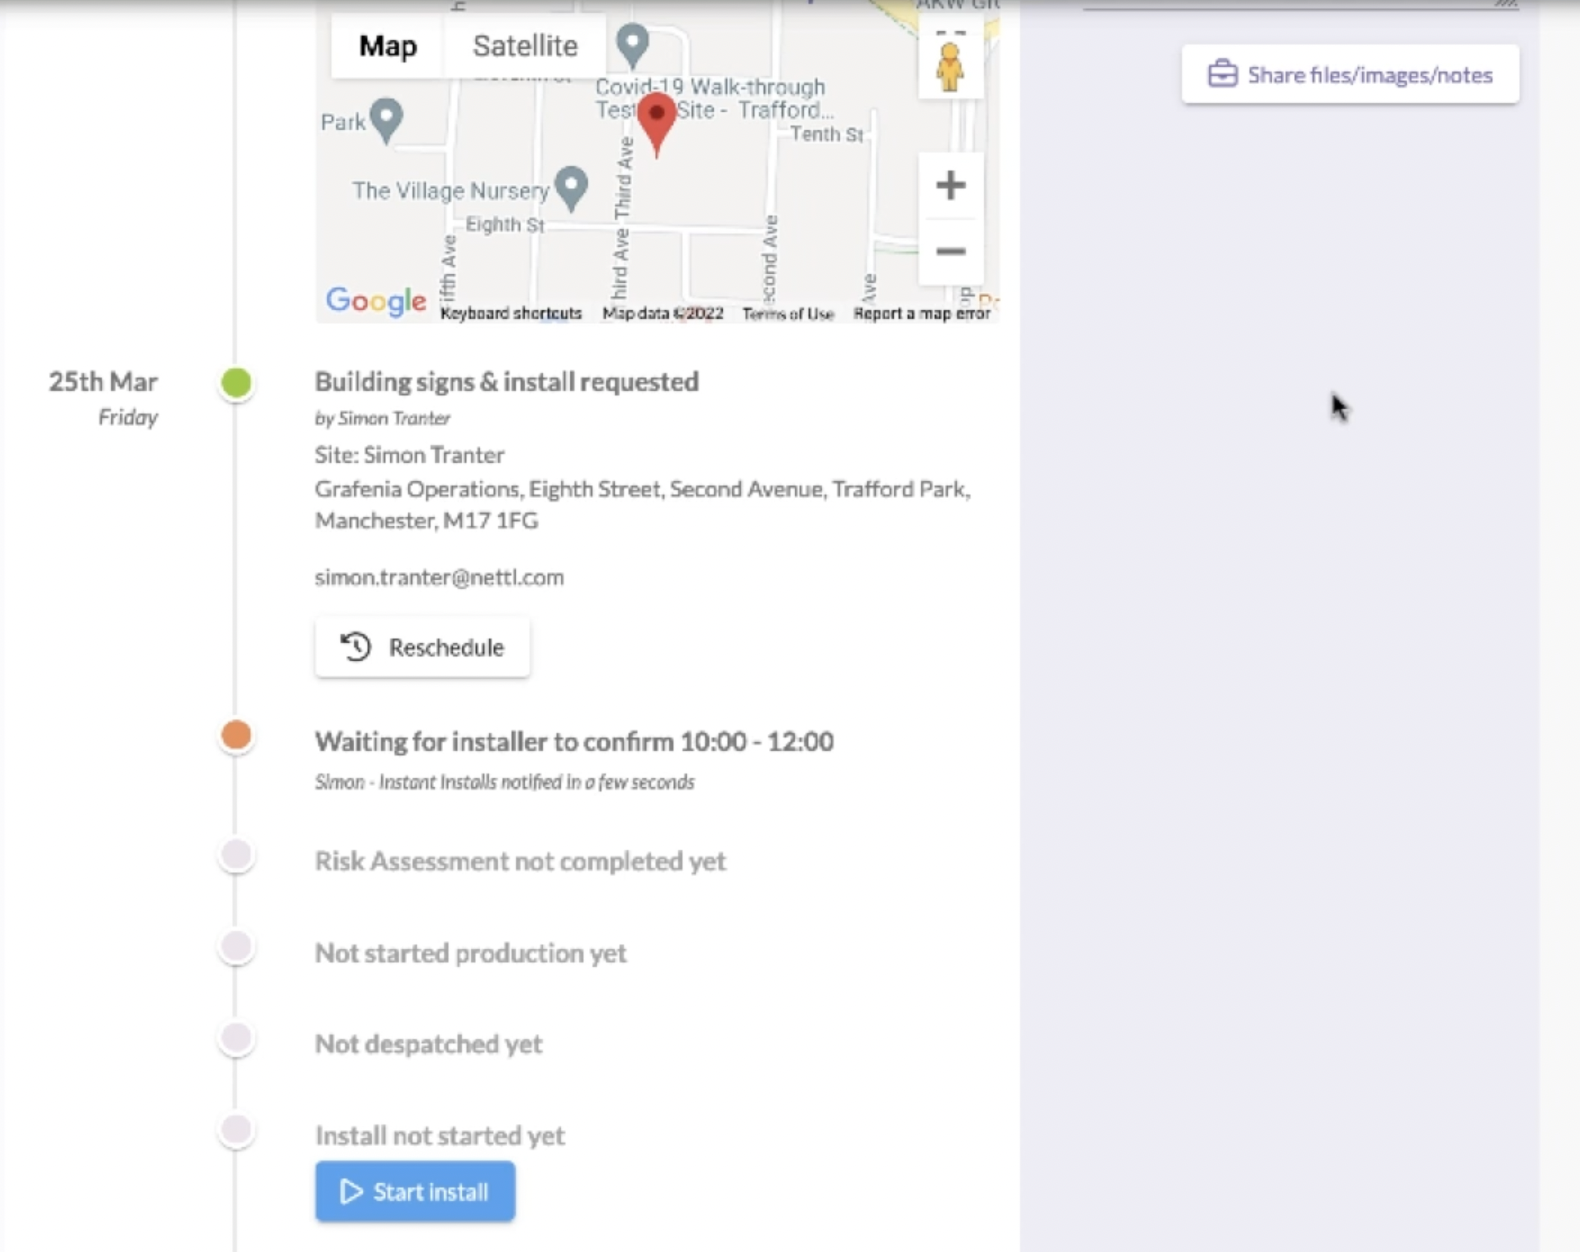
This will send a notification to the installer to confirm or decline the installation. You will then be diverted back to the timeline/ overview of the booking. This then shows on the timeline as waiting for the installer to confirm.
If you wanted to upload files and images you can do this in the Arena.
Click share files/images/notes on the right of the page.
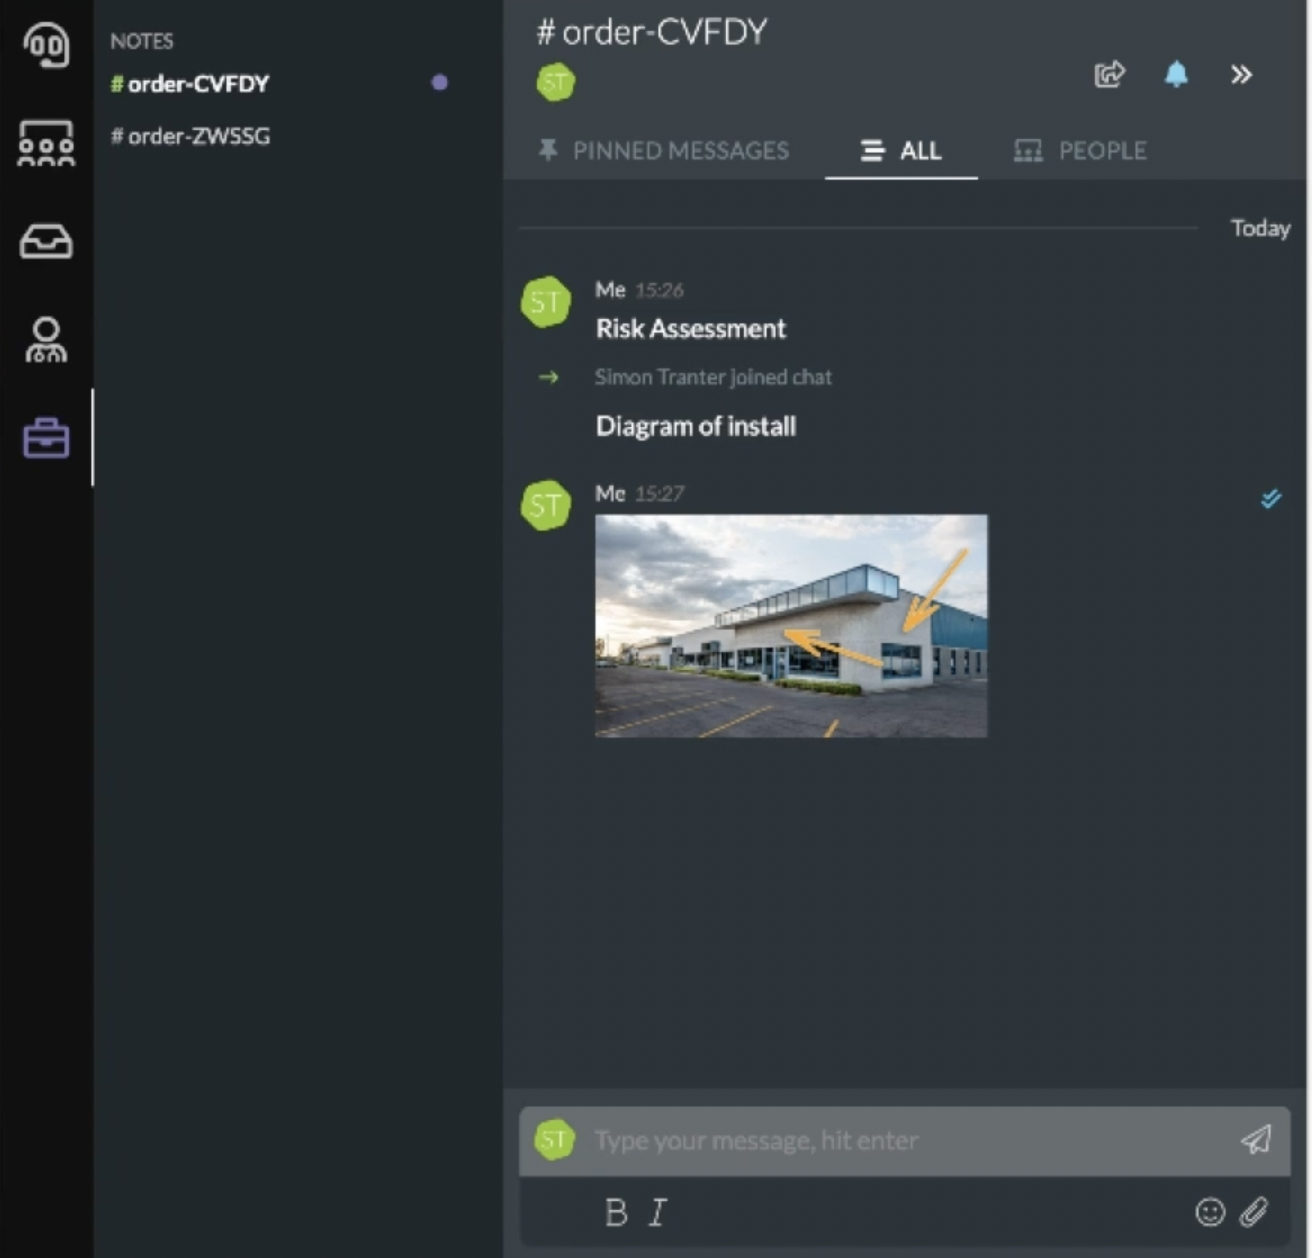
The Arena will pop open. With your order in reference.
You can then upload the files, this will then live next to the booking forever so if there are multiple members working on the same project they can see the notes added.
To come out of the arena just click outside it.
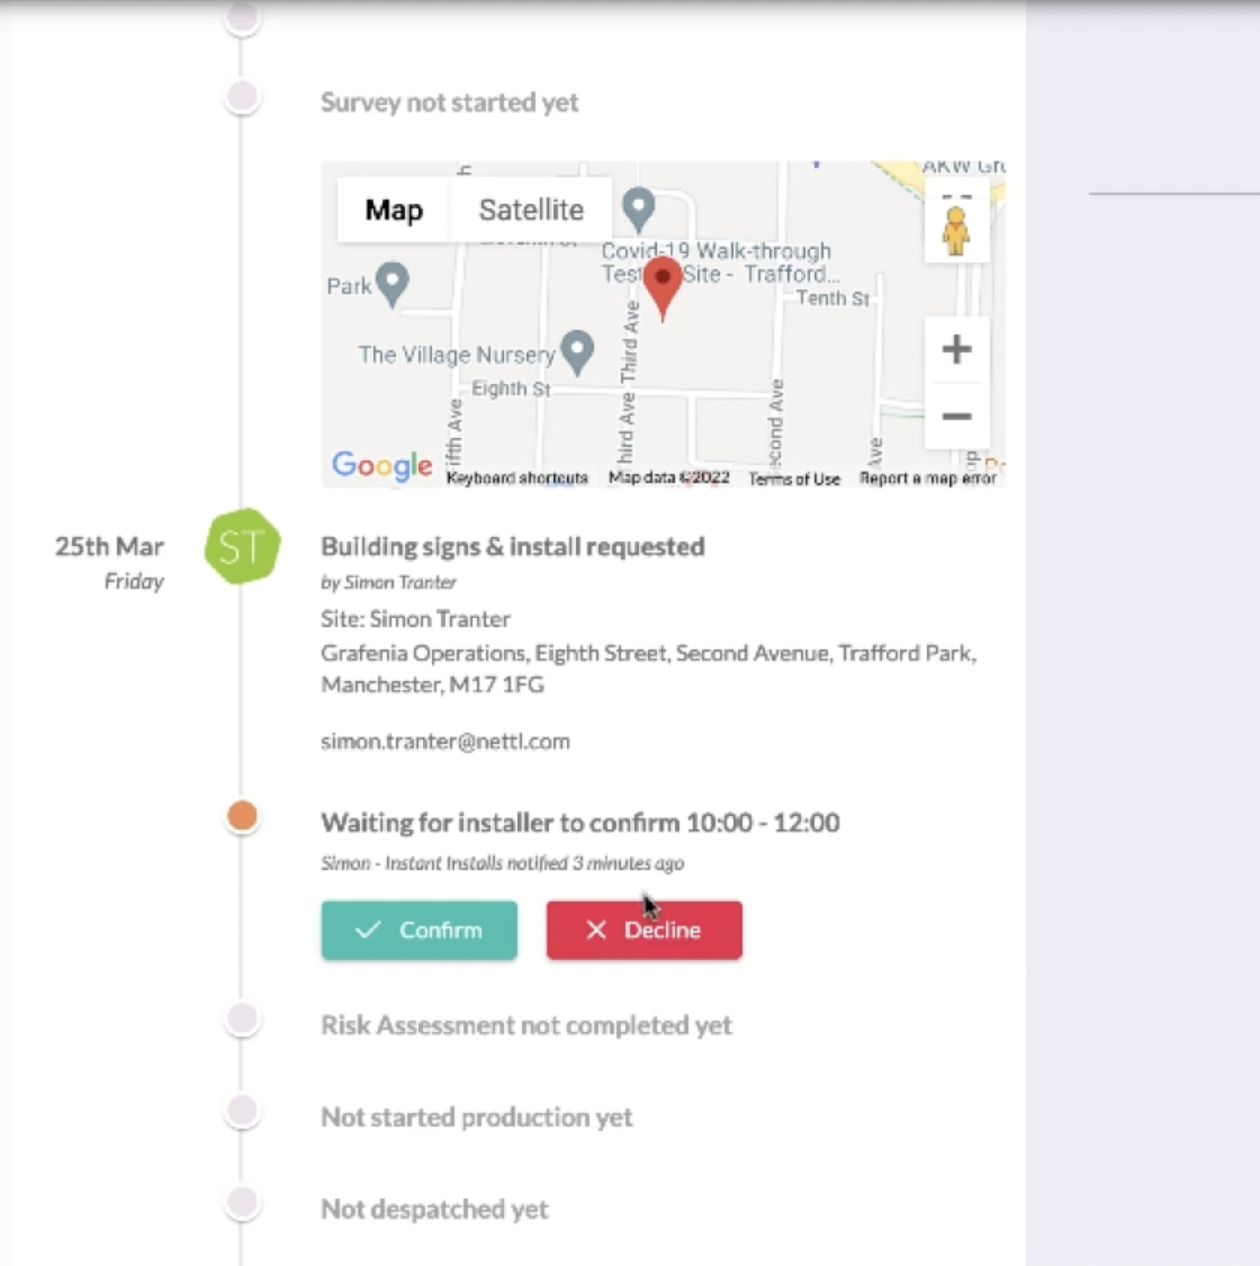
When the installer receives the email asking them to confirm or decline it will give a breakdown/overview of the booking.
Regardless of whether they confirm or decline, whoever set up the booking will be notified.
This will take the contractor/installer to booking overview.
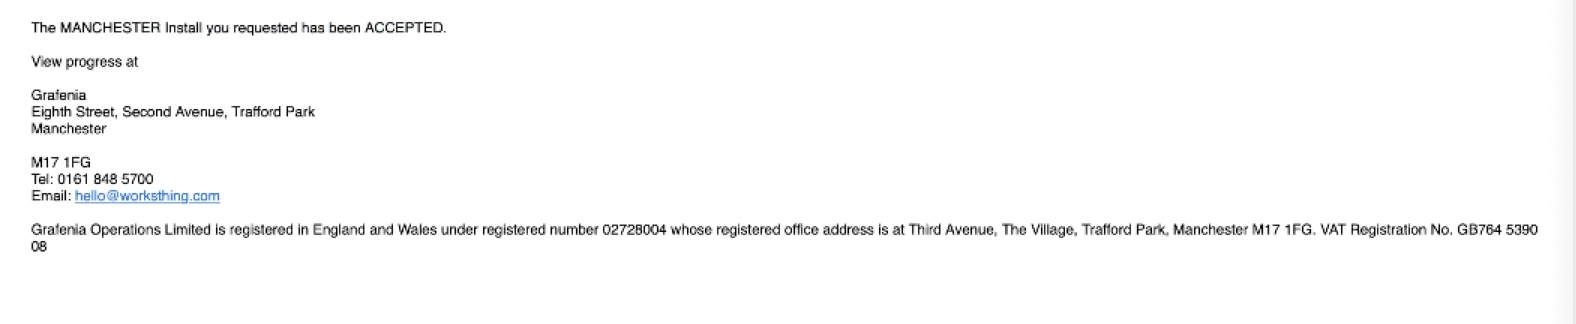
Once confirmed the overview will update and an email will be sent along with a new job in the calendar to the installer and the owner or The WorksThing set up.
The risk assessment can be added from the timeline.
You can then view who uploaded the risk assessment and when it was uploaded.
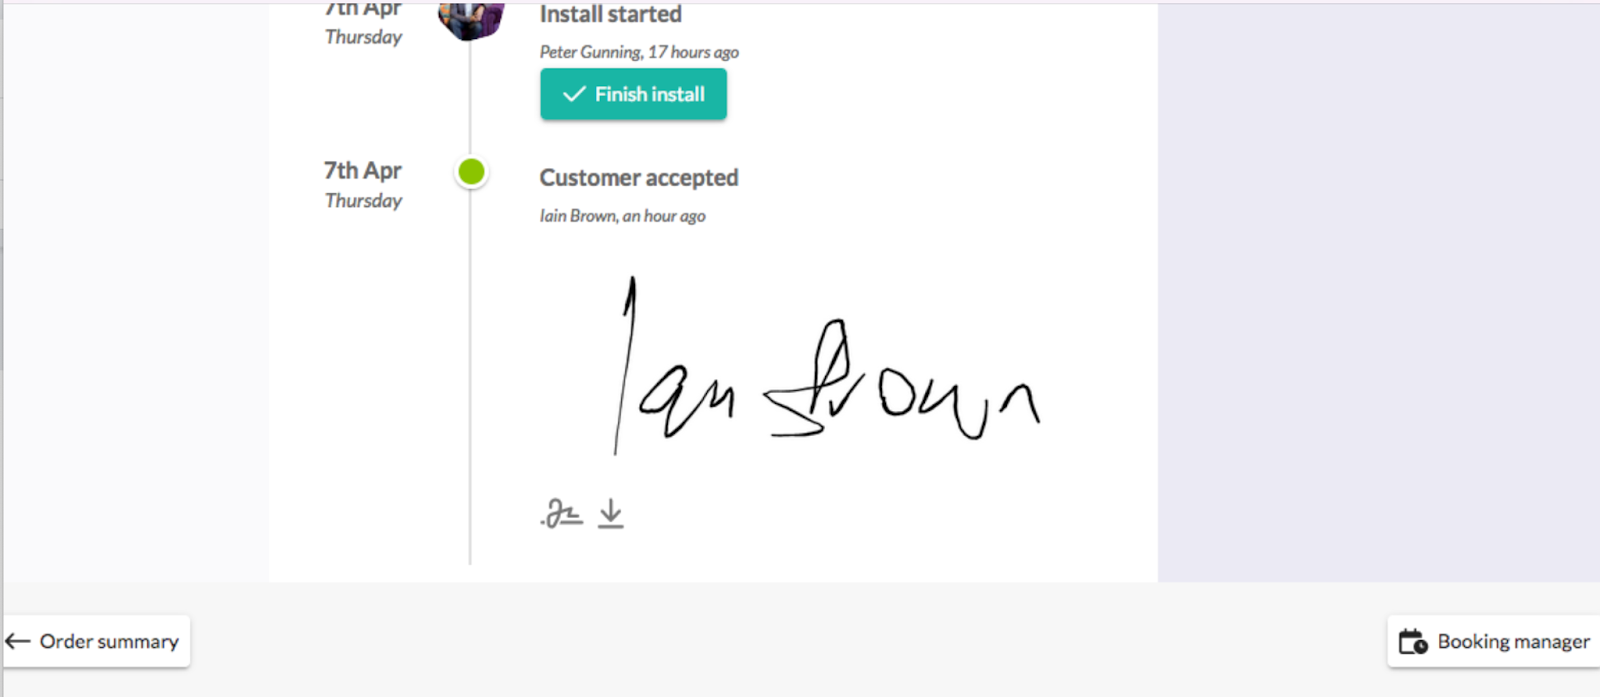
Once the install has started the light next to it will appear green.
When the install is completed there's a button for "sign & accept"
The installer can give to the client, once open they can sign on the signature pad with their finger.
The two buttons at the bottom report an issue or leave feedback.
Acceptance is shown and is downloadable on the bottom of the timeline.
Jump to contents page of
|
|||