Support for

This article explains:
Both you and your suppliers have access to the menu in Flyerlink.
Through this menu, you can access all jobs using products belonging to your workgroup or your suppliers.
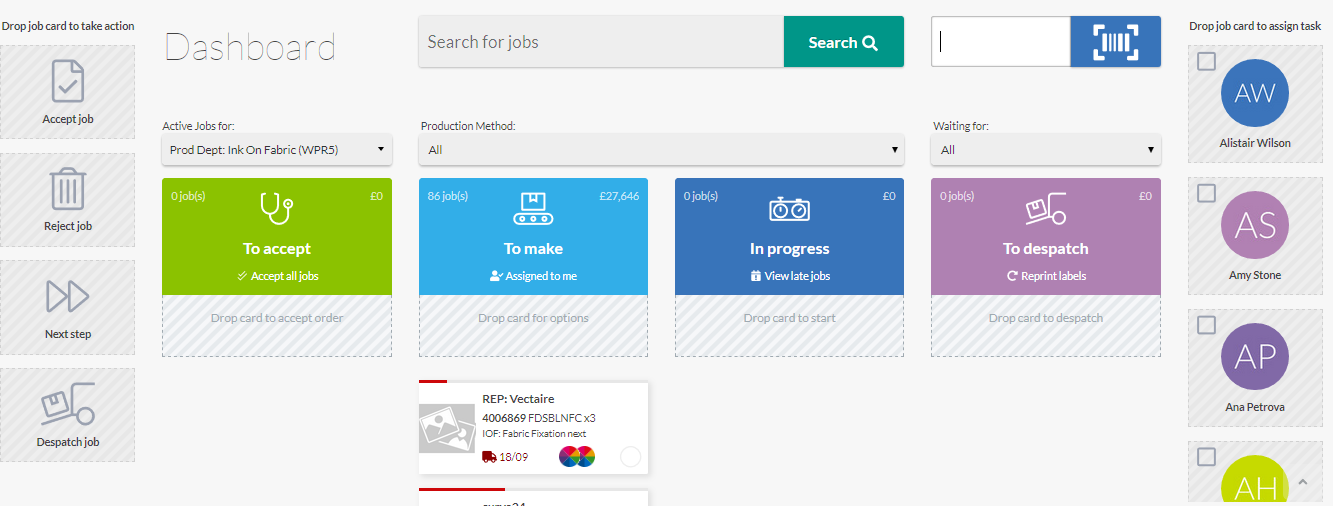
Go to and you'll see an overview of the jobs that are in production:
The page is responsive but designed to work on desktop or landscape iPad, not mobile or portrait iPad.
The screen is split into 4 sections:
You will see a job card for each job in each section
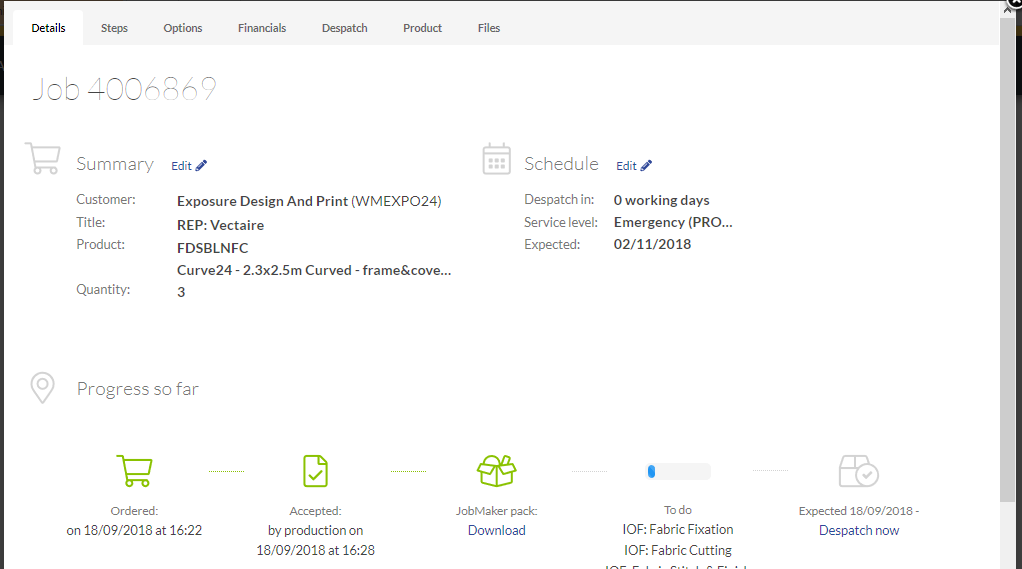
Click a card to see more details about the job, and use the tabs to find out more or act upon a production step
The Jobs to accept columns shows all jobs which are at Status 081 and haven't yet been accepted or had a production step started.
You can filter by production step or production method to only accept specific jobs.

To accept 1 job, drag one card into the accept tile
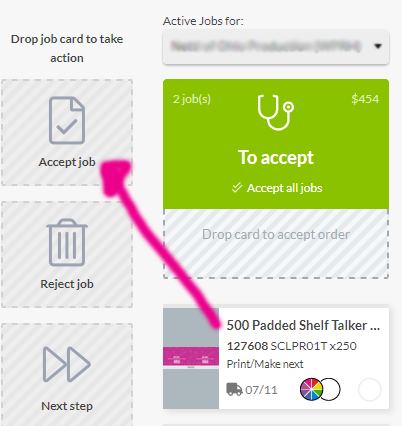
It will then move into the Jobs to make section.
You can click the accept all jobs to move them all over - or just start acting on the production steps by clicking a card, going to the steps tab and confirming a production step has started or is in progress.
If you want to reject a job, because it doesn't conform to your requirements, drag the card instead into the Reject job tile.
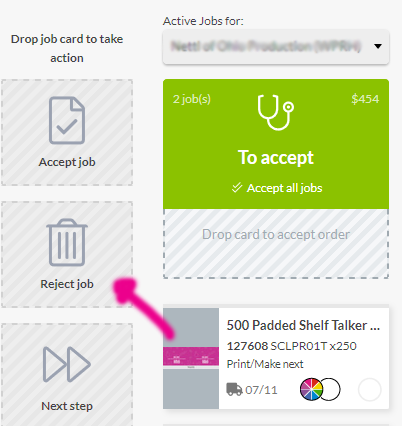
That'll put the job to status 091 and notify the workgroup that placed the order.
Status 091
If you reject a job or change the status to 091, it will be sent back to the Sales Team and you cannot produce it.
Status 094
If there are file conformance issues but you are still willing to produce the job, choose status 094.
To produce a job you will need the job files
You can get these by clicking a job, choosing Files tab
You'll see a list
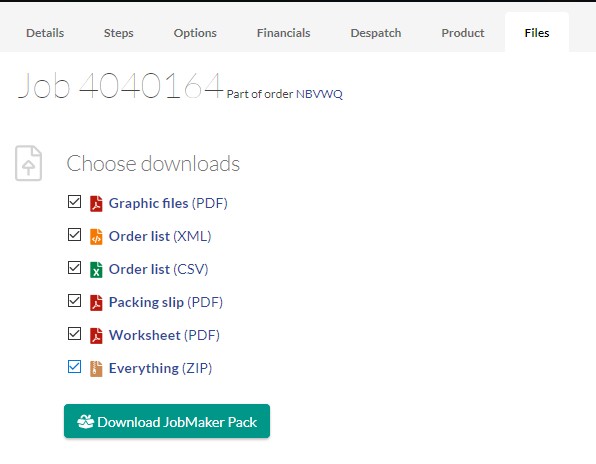
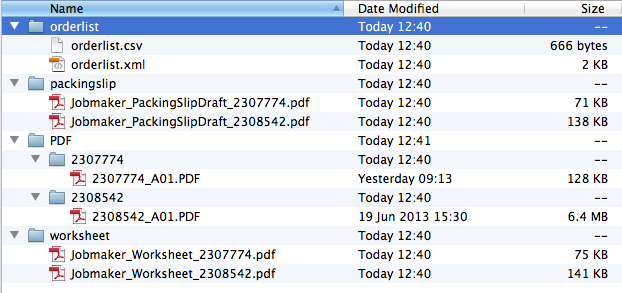
Hit Download JobMaker Pack to get a ZIP containing:
When you download a JobMaker pack we move that job from To Accept to To Make
You can still reject the job afterwards if needed
Along the right side you'll see a list of users in the production workgroup
Drag a card to a production user to assign it to that person
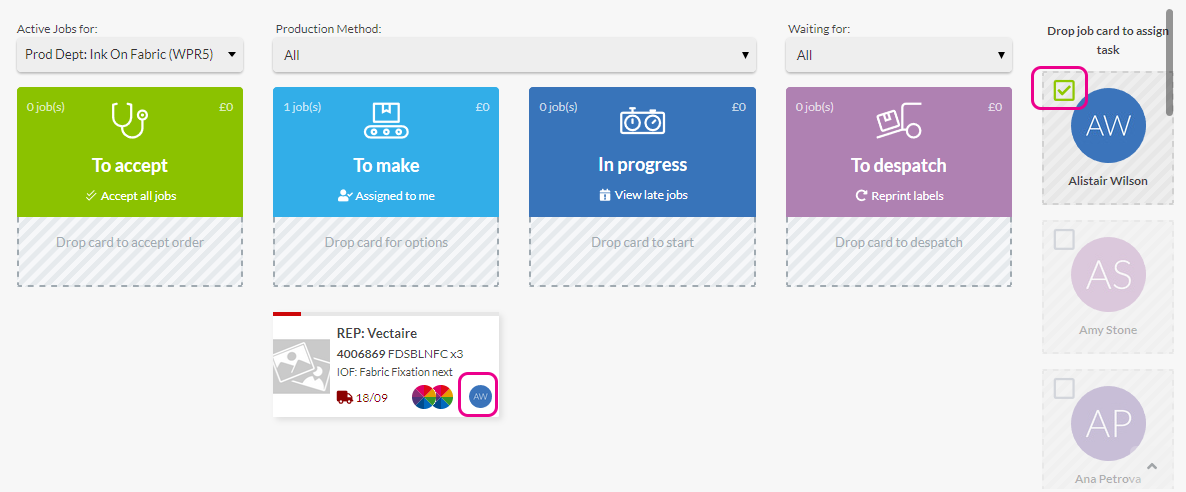
You can then tick the staff member on the side to filter only out and only show their work in progress
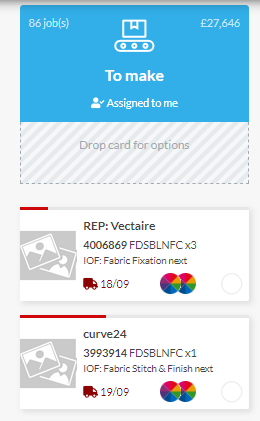
Once you've accepted jobs, they move to Jobs to make:
Drag a card onto Next step tile to see the next step
Or click a job and choose the Steps tab
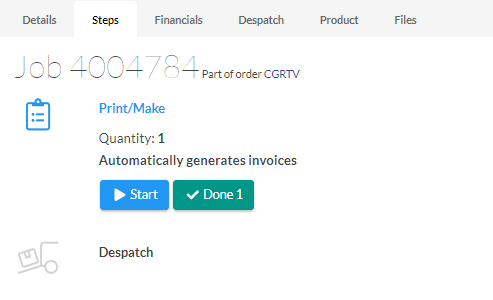
Here you'll see a list of each of the Production Steps you've added on displayed as a start or done button.
As a minimum you will have print & despatch but can add more.
The next step to do is highlighted as a green button, others need to be clicked to expand and start.
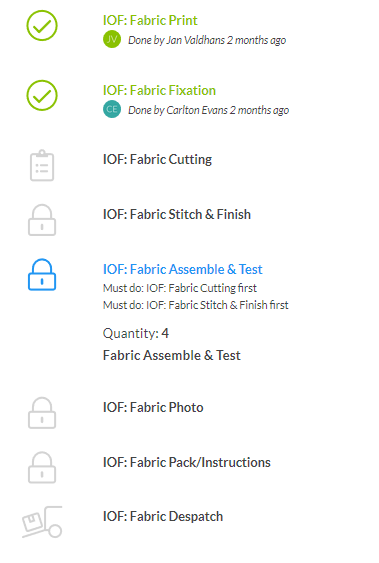 If you've set any Must do steps, that step is locked until the previous step is completed.
Once the step is completed, simply press done step. Flyerlink will record who progressed the step and when, incase there are any issues with the production.
Choose Start to record time taken between start & finish.
Once you've made your jobs, you need to despatch them. The ones with just a despatch left will show in the "To despatch" column
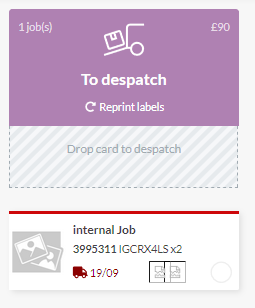
To do this click the despatch step
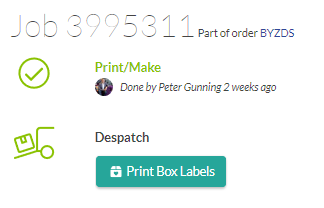
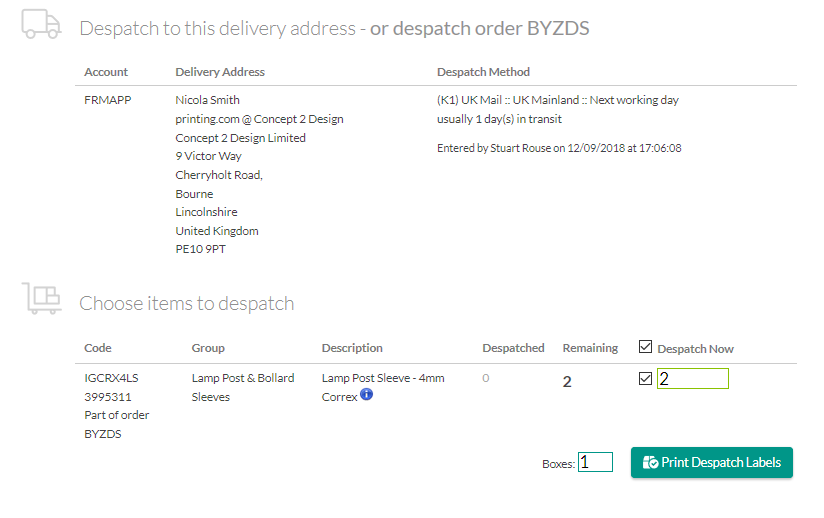
Click the Print box labels to start the despatch process. Flyerlink will show you all jobs going to the same address, by the same despatch method, in case you want to put more than one job in the same box. Just tick the jobs you're despatching and choose the quantity & number of boxes required:
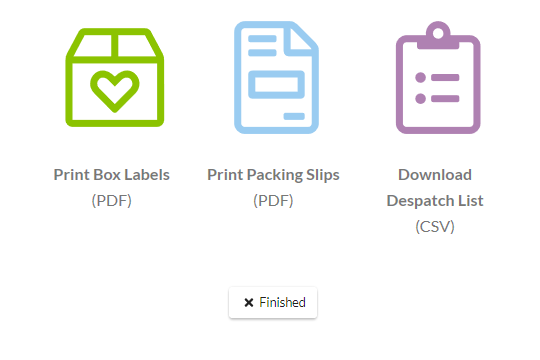
On the next screen, print the despatch labels, actual packing slips and get the despatch details as a CSV file if you want to import them somewhere else:
If you would like to change the despatch method before despatching
Click a job and choose the Despatch tab
Click the Change Despatch option
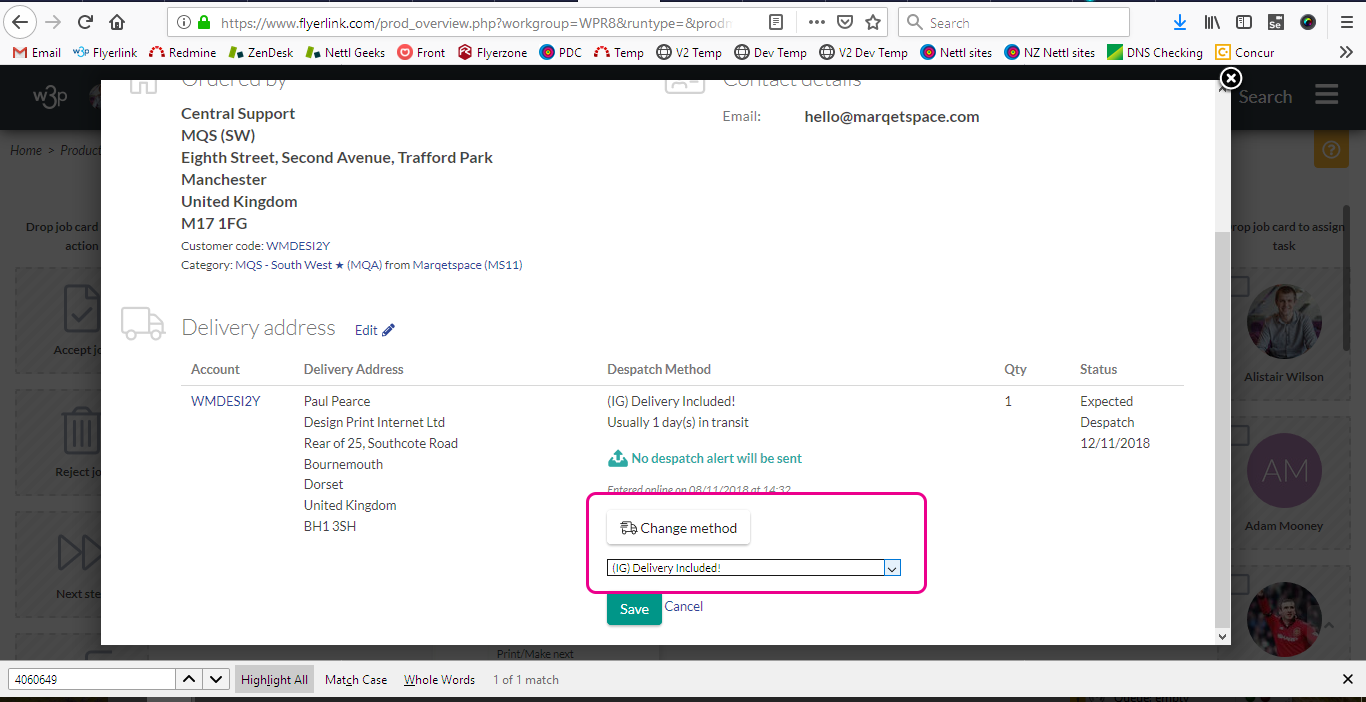
Choose the option and save then you can despatch
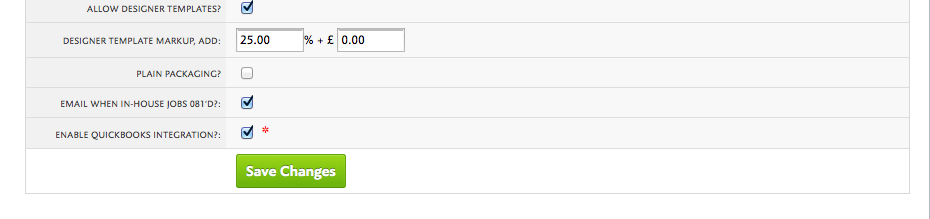
If you'd like to get an email when any InHouse production jobs go to 081, go to and tick the Email when In-house jobs 081'd?: option:
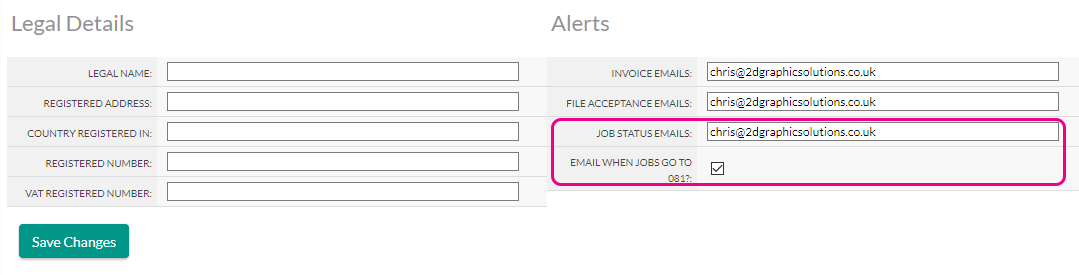
There's a similar setting for each of your Opensource Suppliers. Go to , scroll to the Alerts section and stick a big fat tick in the Email When 081?: box:
This gets sent to the Job Status Email of the product's supplier
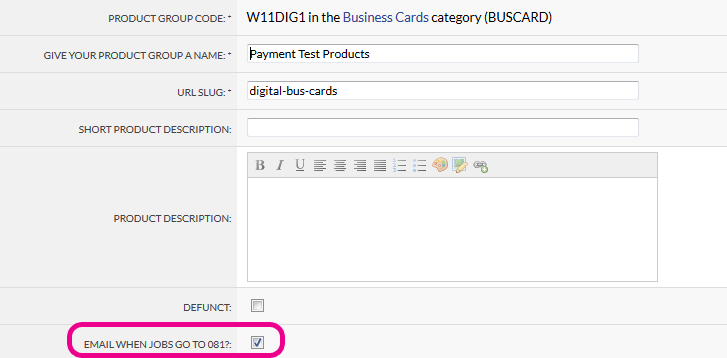
You can turn on the notification per product group via by ticking Email when jobs go to 081?:
Jump to contents page of
|
|||||