Support for

The template editor does not fully share the depth of InDesign®’s rich typographic controls.
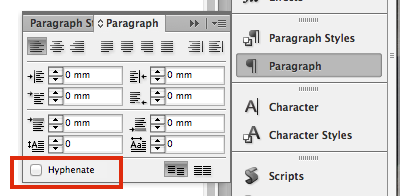
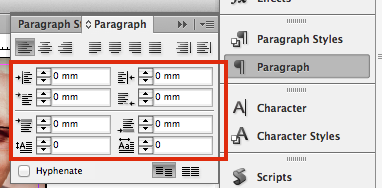
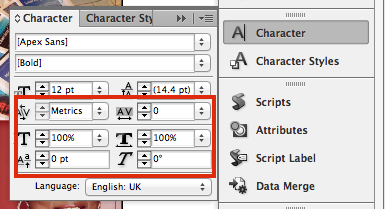
Remember… The key to creating a template is to keep it simple! Before creating a text object you should make sure your settings are as follows:

When you have created a text object you need to:
Allow a minimum of 25% of the height of the font at the bottom of the text box . This allows space for ascending and descending characters in the character set to fit in. Failure to leave enough ‘breathing space’ may result in text frame overflow and missing text in the template. This image shows a red text box that has a defined text frame zone and plenty of 'breathing space' to allow for descending characters:
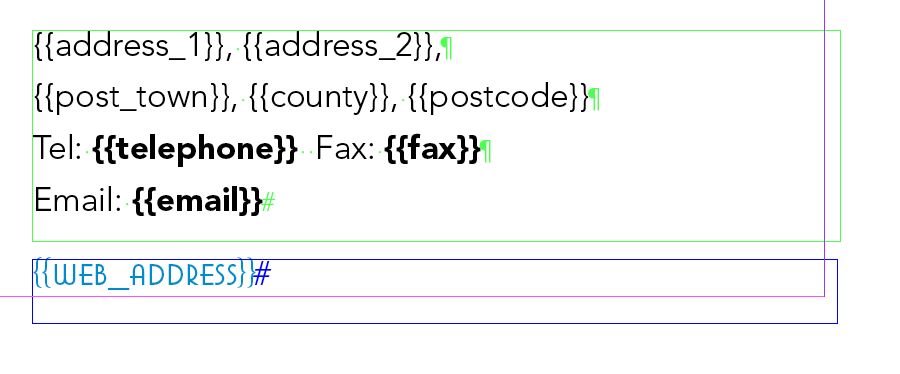
Once you have set your text frames, you need to check that the Hash Tag symbol (#) is visible at the end of the text box and there is no hidden text or returns beyond the text frame, like in this example:
To show the Hidden Characters, will need to be turned on. For templates larger than A3 in size we would recommend a minimum font size of 20pt for Editable Text objects.
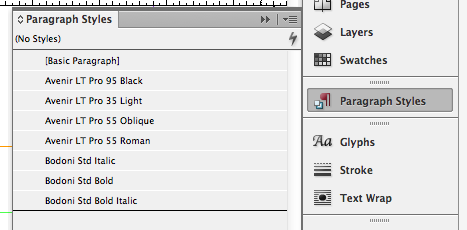
Once you have created a text object, you must make a corresponding Paragraph Style. This will ensure the font is available to use in the editor.
Once you have made all the required Paragraph Styles, go to . If there is a rogue font listed here, locate it in the file and either delete it or convert to outlines. If there is no text present, you may have converted a graphic object into a text object. In this case, select the object and then
DO NOT use any System Fonts anywhere in your template. Not even as a ‘placeholder’ font which you intend to substitute at the build stage. The use of a System Fonts in the template will cause it to fail.
Paragraph styles are not being used in their traditional sense, they are used as a way to 'package' up the fonts you want to make available in the editor.
You only need to create one Paragraph style per font, you don’t need to create a separate one for every variation of size and colour.
Character styles are not supported in online templates. If your document includes any, they will need to be removed prior to uploading to Flyerlink®.
When creating a template, if you do not possess the exact version of the fonts featured in the Template Font List (eg. You may have ‘Diverda Sans Com Regular’ but not ‘Diverda Sans LT Std Regular’) then you can use your existing version, and then swap it at the build stage provided that the version that you own is in .otf (Opentype) or TTF (True Type) format. Alternatively, you could purchase the exact version to help with laying out your Template designs.
The font substitution tool will only work with OpenType (OTF) and True Type (TTF) fonts.
Postscript Type 1 fonts are not suitable for substitution. In addition, do not mix OpenType and True Type fonts of the same family, as this will cause the font substitution to fail.
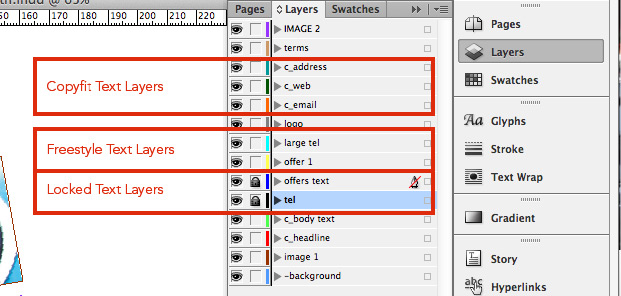
Editable Text objects can be Locked or Freestyle, in both cases the ‘text content’ will be editable in the final template, but the ‘text properties’ e.g. font, colour and font size, can be restricted in accordance with the clients corporate brand guidelines. You must decide which editable text objects will be restricted (Locked) and which will allow more flexibility (Freestyle).
The ‘text content’ of a Locked text object can be edited in the final template, but the ‘text properties’ cannot be changed e.g. font, colour and font size.
To Lock a text object, lock the layer in InDesign®
The content, font, colour and font size of a Freestyle Text object can be edited in the final template. A layer naming convention or prefix is not required on a Freestyle Text layer, just leave it unlocked.
Copyfit automatically resizes text when the user types too much into the text frame. If you want to apply Copyfit to an editable text field, give the layer name a ‘c_’ prefix e.g. c_Now Operating, c_Email.
A text frame that requires Copyfit must only contain one font, font size and font style, if a text frame contains a combination of these then the Copyfit functionality will not work.
 If the feature has not been applied and the user types too much into the text frame, a warning will instruct them to type less.
The Copyfit function can also be added to layers that have Active Update fields on them (Step 4 in this book covers Active Updates).
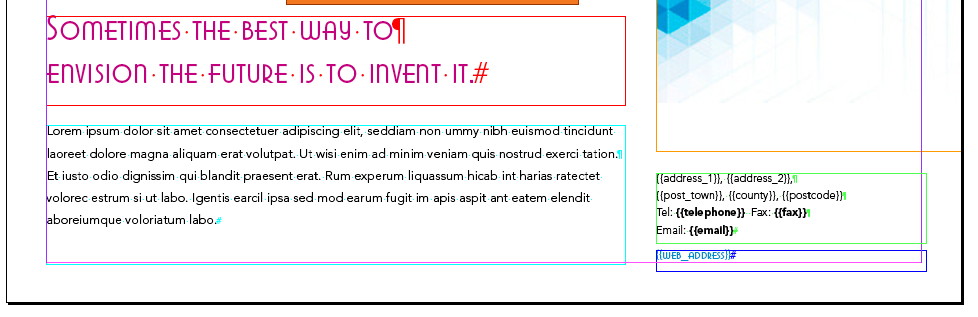
Here is an example of a document using all 3 types of text settings:
If an editable text element has copyfit applied, but the text box doesn't contain enough breathing space, then the text will automatically shrink to fit the available space when the template is initially built.
If you are unsure of how to check for any of the InDesign® features, please refer to
Next...
|
|||
Jump to contents page of
|
|||