Support for

The following guidelines detail the structure and functionality that is supported when preparing an InDesign® file for conversion to an online template. The online templates are intended to be an easy way for someone without design skills to edit and personalise content within a fixed template, similar to editing slides in Powerpoint. The online templates are not intended to function like a browser based design canvas. They do not include every function and feature available in InDesign®. The key to creating an online template is to keep it simple!
The steps in these guidelines detail the required layer naming conventions and rules that are used to identify objects that are either editable or fixed in the final template. When creating the InDesign® file these rules are determined in accordance with the client’s requirements and corporate brand guidelines.
Within the final template, the content of an editable object can be changed, but the position cannot. Objects are locked in place to prevent the end user moving or altering the design layout.
The vast majority of our core product range is available. Special allowances have been made for four page greetings cards, which are also supported. Please refer to Designing for Production for more details on how to set up files for four page greetings cards.
The design file should be set up in accordance with the usual Designing for Production specification. The appropriate Design Template (TGI) (refer to Designing for Production) can be used to indicate the usual page size, bleed, ‘quiet zones’ and folds where appropriate. The Design Template (TGI) Layers should be used as a guide whilst designing. Before saving the InDesign® file ready to be turned into an online template all the Design Template (TGI) Layers must be removed. The Finishing Layer, which includes the 0.25pt key line and red front page indicator key line for folded products, must be merged with the Background Layer, before saving the final file ready to be made into an InDesign® template file (.indt).
Don't use the Facing Pages option when creating your InDesign document. The document needs to be single pages only. Items placed on a Master page aren't supported, your design elements all need to be on an actual document page.
We support up to A2 dimensions with no issues, if you go above that you'll need to keep the artwork as simple as possible with regards to the editable areas.
The main issue is usability of the template, as it can be hard to edit very large dimensions such as over A1 due to the maximum font size being 96pt. Couple of notes:
1) Maximum file size is 145mb.
2) Our largest recommended dimensions are 3,000mm x 1,000mm (We have seen larger, but we don't support them above this size).
3) Maximum editable font size is 96pt within the editor - you can upload artwork with editable areas with larger font sizes but the size menu only goes to 96pt.
4) If an end user is using a small screen it can be tricky to edit very large dimension templates.
5) Keep the editable areas on the template as few and simple as possible.
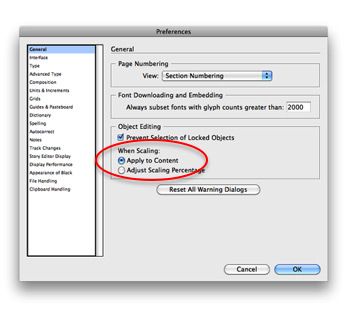
Make sure the following features and settings are selected within InDesign®, they will help during the design process;
| Character | Description |
|---|---|
| # | Illustrates the end of content |
| ¶ | Hard return |
| ¬ | Soft return |
| >> | Tab |
|
. |
Space |
| / | End of Nested Style |
Remember, the key to creating an online template is to keep it simple! Decide what elements of design need to be fixed and which will be editable. Some clients want most of the elements locked down, whilst others allow their users to have more flexibility.
Next...
|
|||
Jump to contents page of
|
|||