Support for

Setting Up Special Layers
|
|||||||
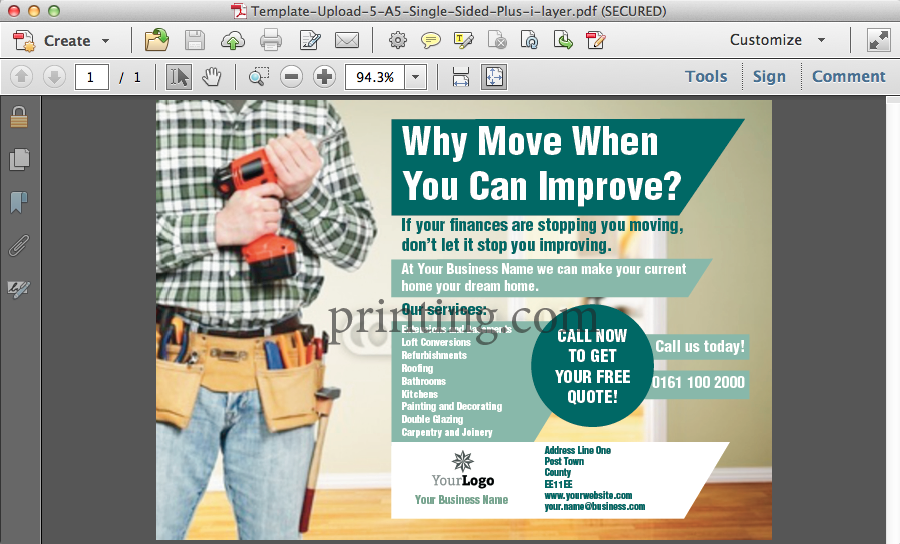
Die-cuts, Spot UV, Opuleaf and Embossini are supported for use in Templates. If your Template features any of these elements, follow these steps.
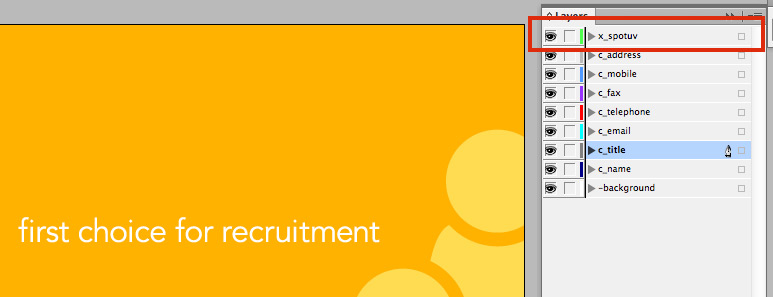
When you upload your .indt file, the editor will hide any layers which begin x_ from the user. So the user won't see the green die-cut lines, yellow Spot-UV or Opuleaf/Embossini swatches.
When the PDF is made, these finishing layers will be present as the topmost layer.
Adobe InDesign® has a print setting that forces all spot colours to be process, it is important that this setting is not active when you are saving your template files. Go to and then use the dropdown menu to select .
.png)
In the dialogue box that opens, ensure that All Spots To Process isn't ticked.
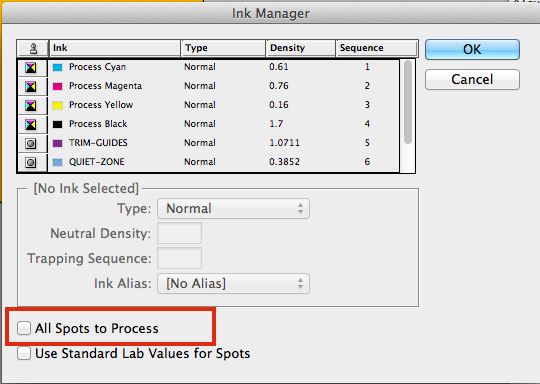
If the All Spots To Process is ticked, then your printing will come back with the 'finishing' objects printed in CMYK.
An Info Layer appears in the template editor, but is stripped out from the final PDF file. It can be used to communicate information to the person editing the template, e.g to remind them to follow some business rules or to use their 'branch email' instead of their personal email. To add an Info Layer to your template, follow these steps:
When setting up your Info layer, you need to use a colour that doesn't use the s_ from any of your editable text elements. If you colour an Info layer in s_red for example, all instances of s_red will be converted to RGB. We'd recommend creating a swatch called Info Layer Colour or something similar.
As well as instructions, you could use the Info layer to show where perforations, cut-out shapes, creases, folds, drill holes, round corners or Spot-UV objects will be.
When the final PDF is generated, anything on an Info layer will be removed.
A Vector layer can contain a non-editable vector element that can sit above or below other editable areas (editable images and editable text boxes). Vector layers can be used in a template to achieve a number of different effects.
The following elements are not supported on Vector layers (v_ layers)
Vector layers can act as a mask to give the illusion of a shaped editable image. To achieve this, create a mask of the shape you want.
Here is a maroon rectangle that has been drawn in InDesign®, with a circle punched out of it using the
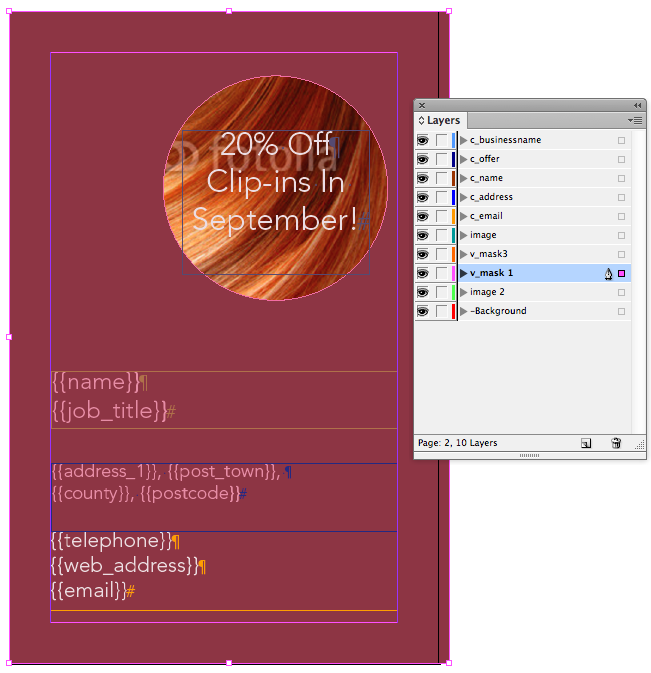
The rectangular image behind the mask remains editable, but appears to be circular in shape.
A Vector layer can also be used for picture captions, stars, shapes and corner flashes over the top of editable images. The example below has multiple v_ layers which have text frames positioned over them.

Next...
|
|||
Jump to contents page of
|
|||